A while back, a colleague and I had the opportunity to organize our racks in our server room. We needed to do some spring cleaning since we were going to add some more hardware that was gonna take up one whole 42U rack. It was decided we would move all our existing network hardware, that was spanning two racks, and try to consolidate it into one rack, an ambitious en devour.
The Before
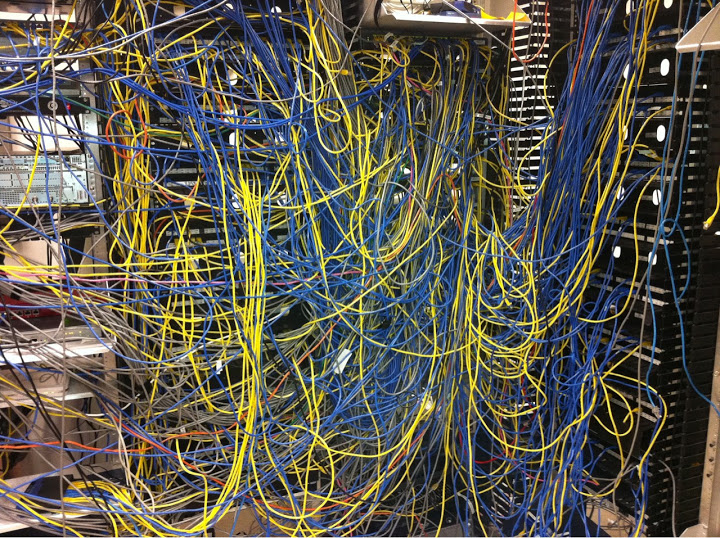
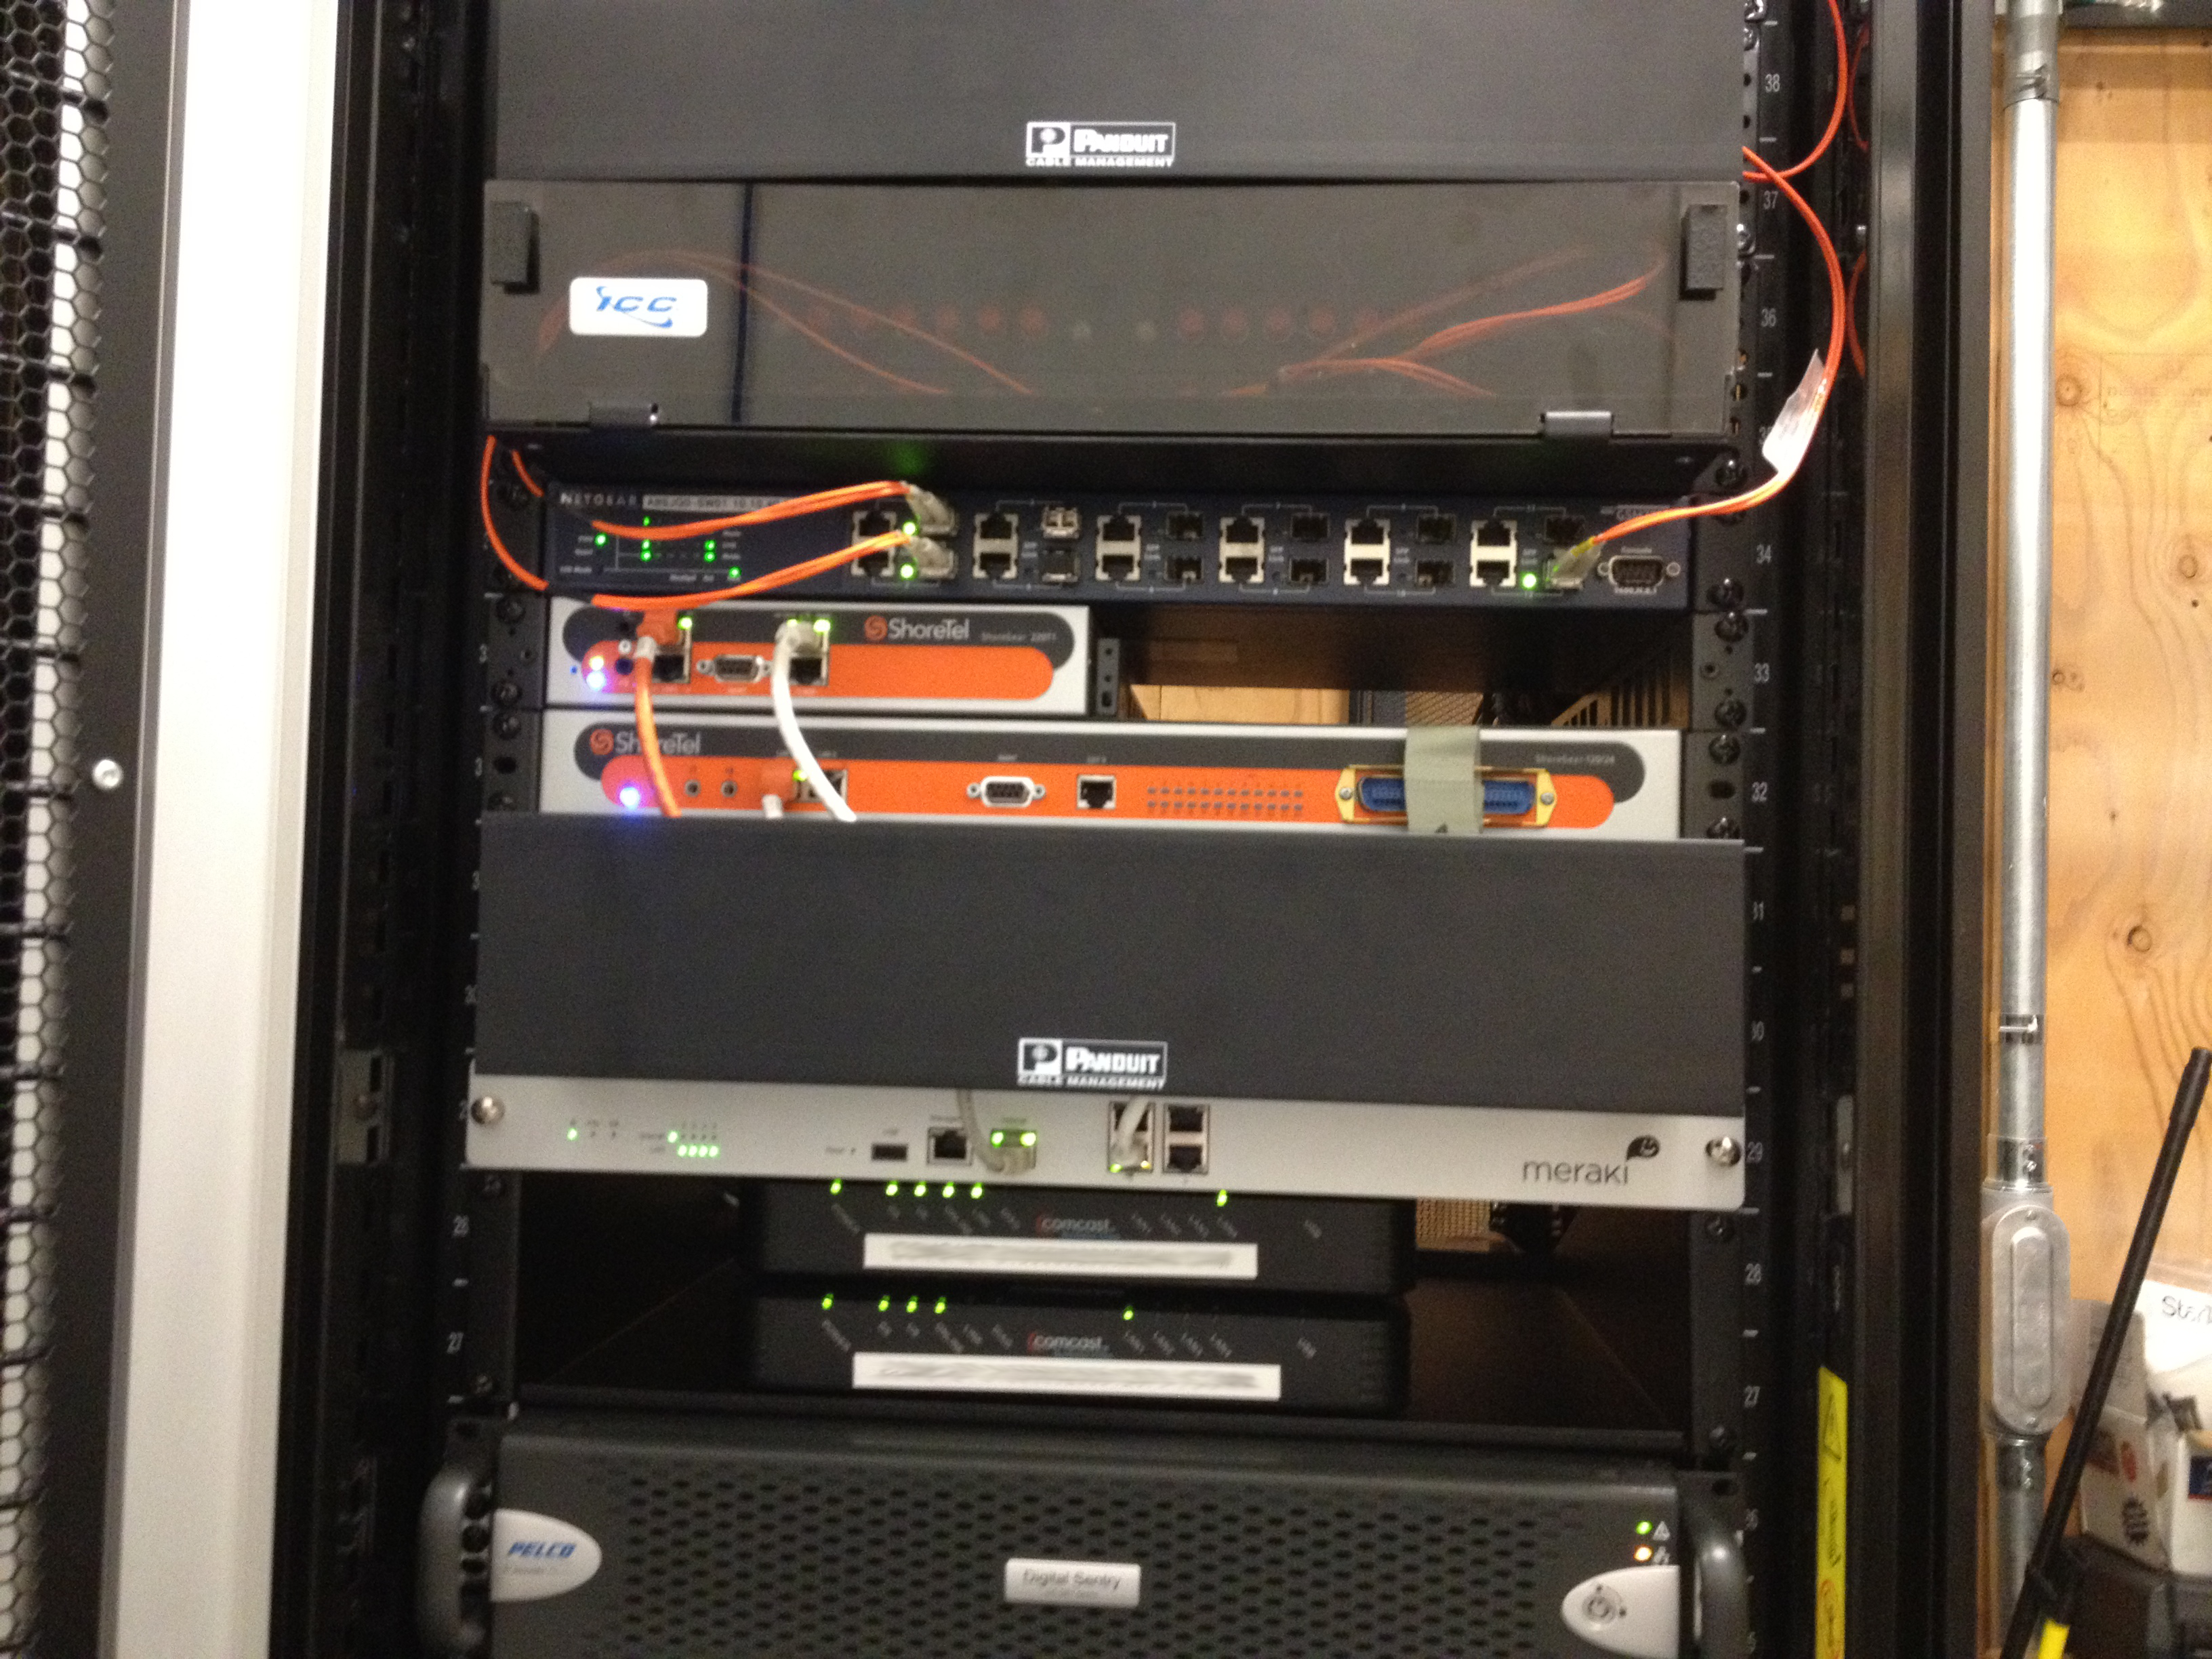
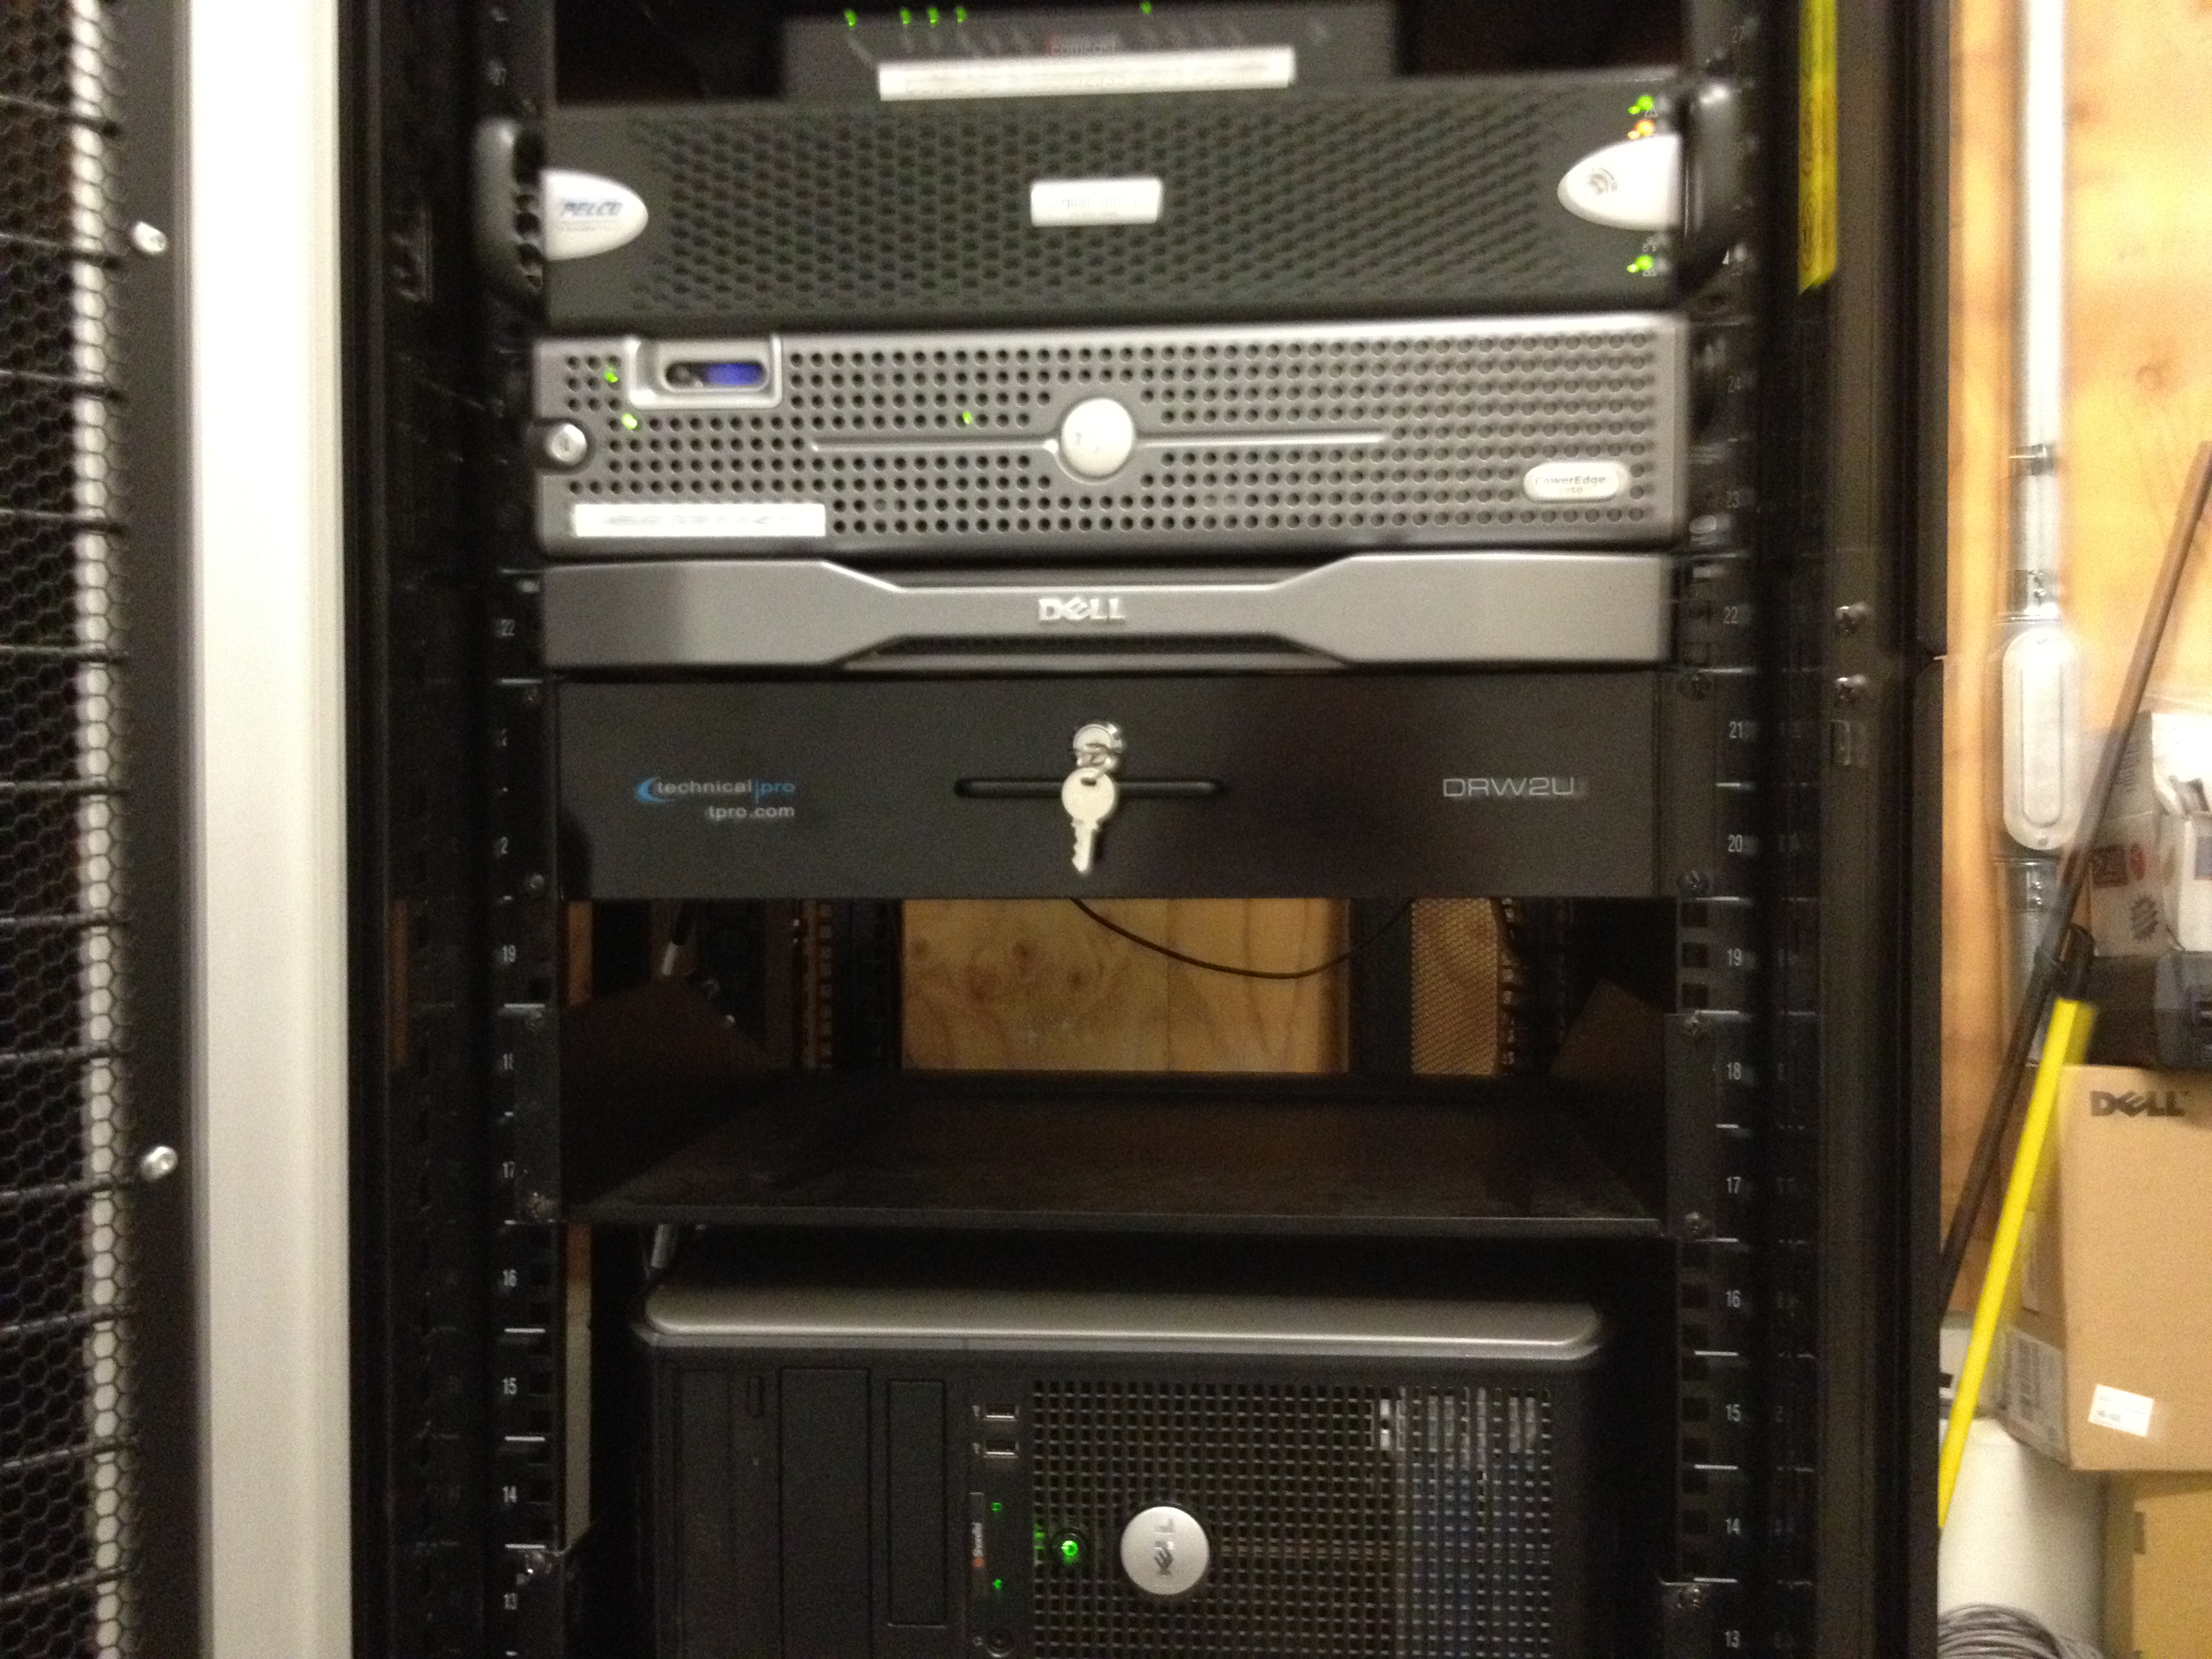
There was almost no organization in mind with the way it was laid out before our decision to reorganize.
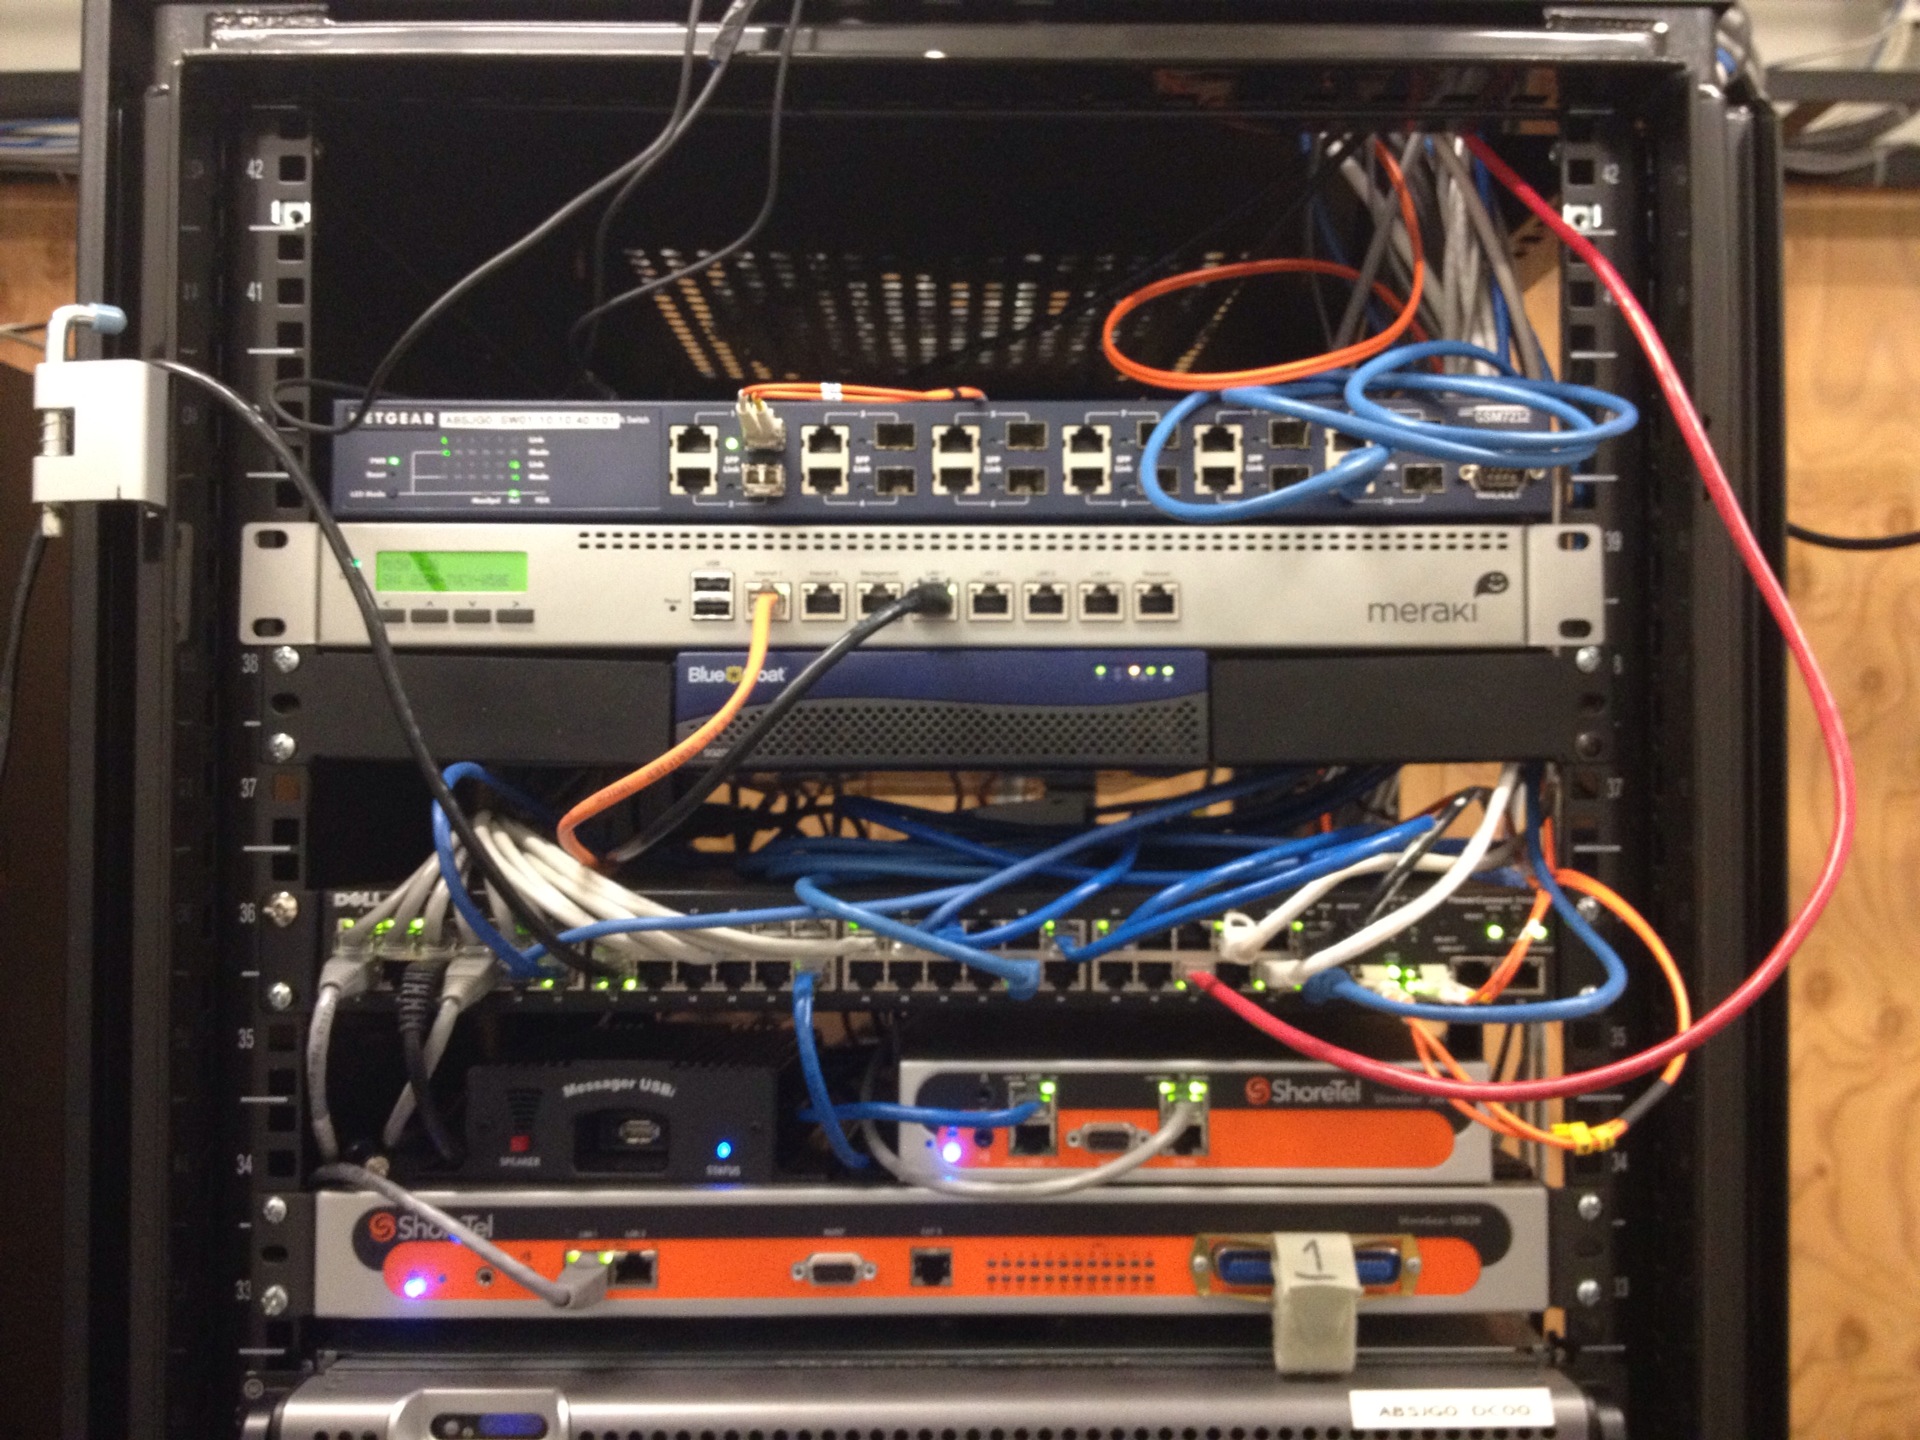
There was no patch panel in place so we had network cables of all different colors coming into the switch from all directions with no way of knowing where they were coming from other then following the cable out.
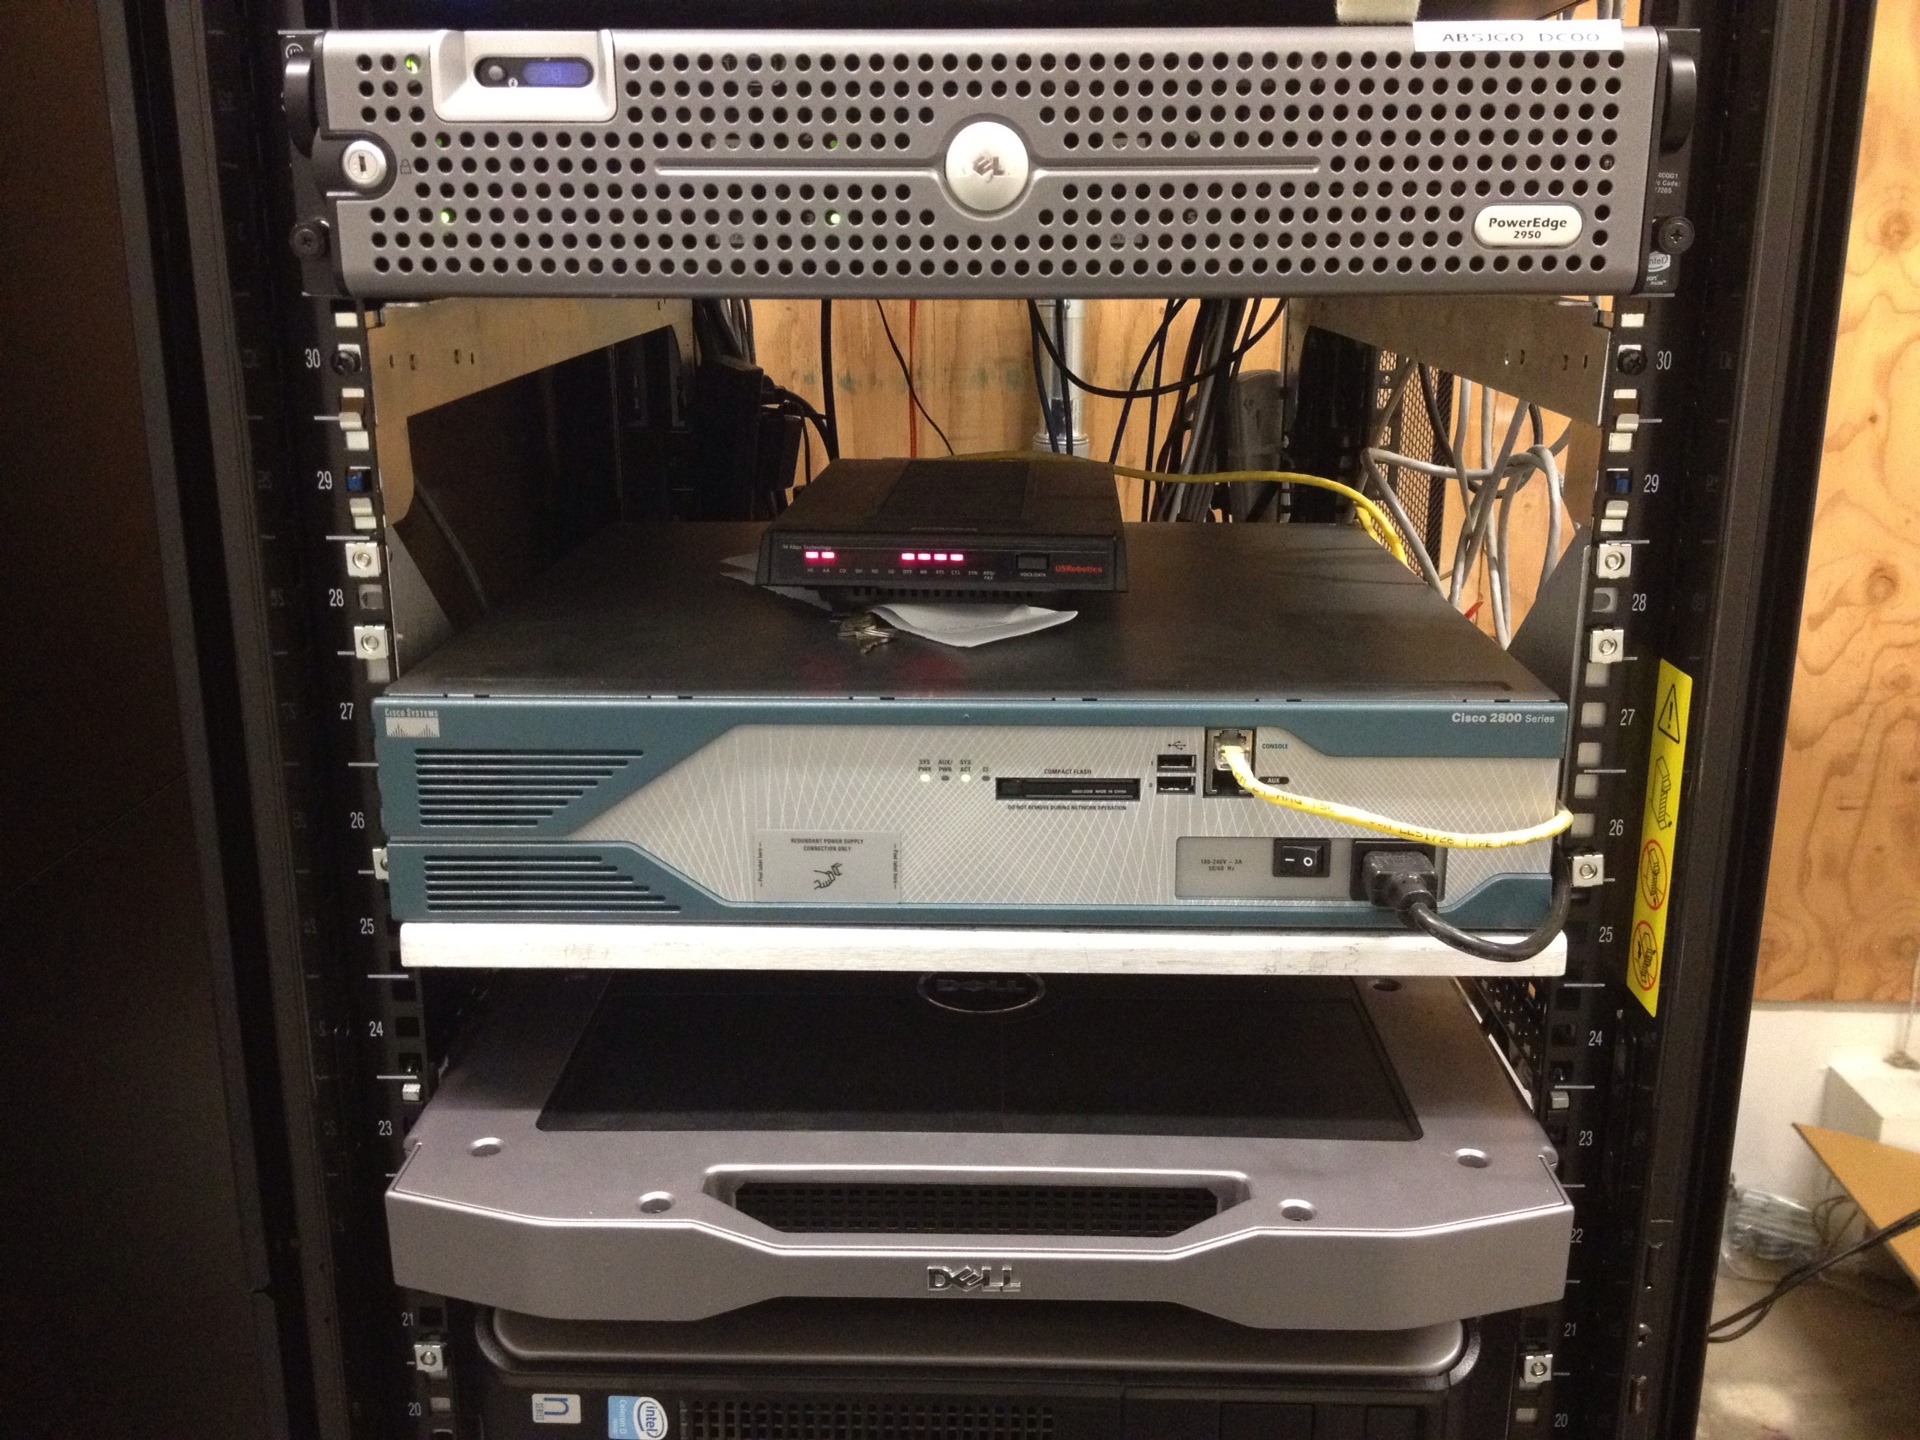
And no rhyme or reason as the layout of hardware other than the rack monitor being at eye level.
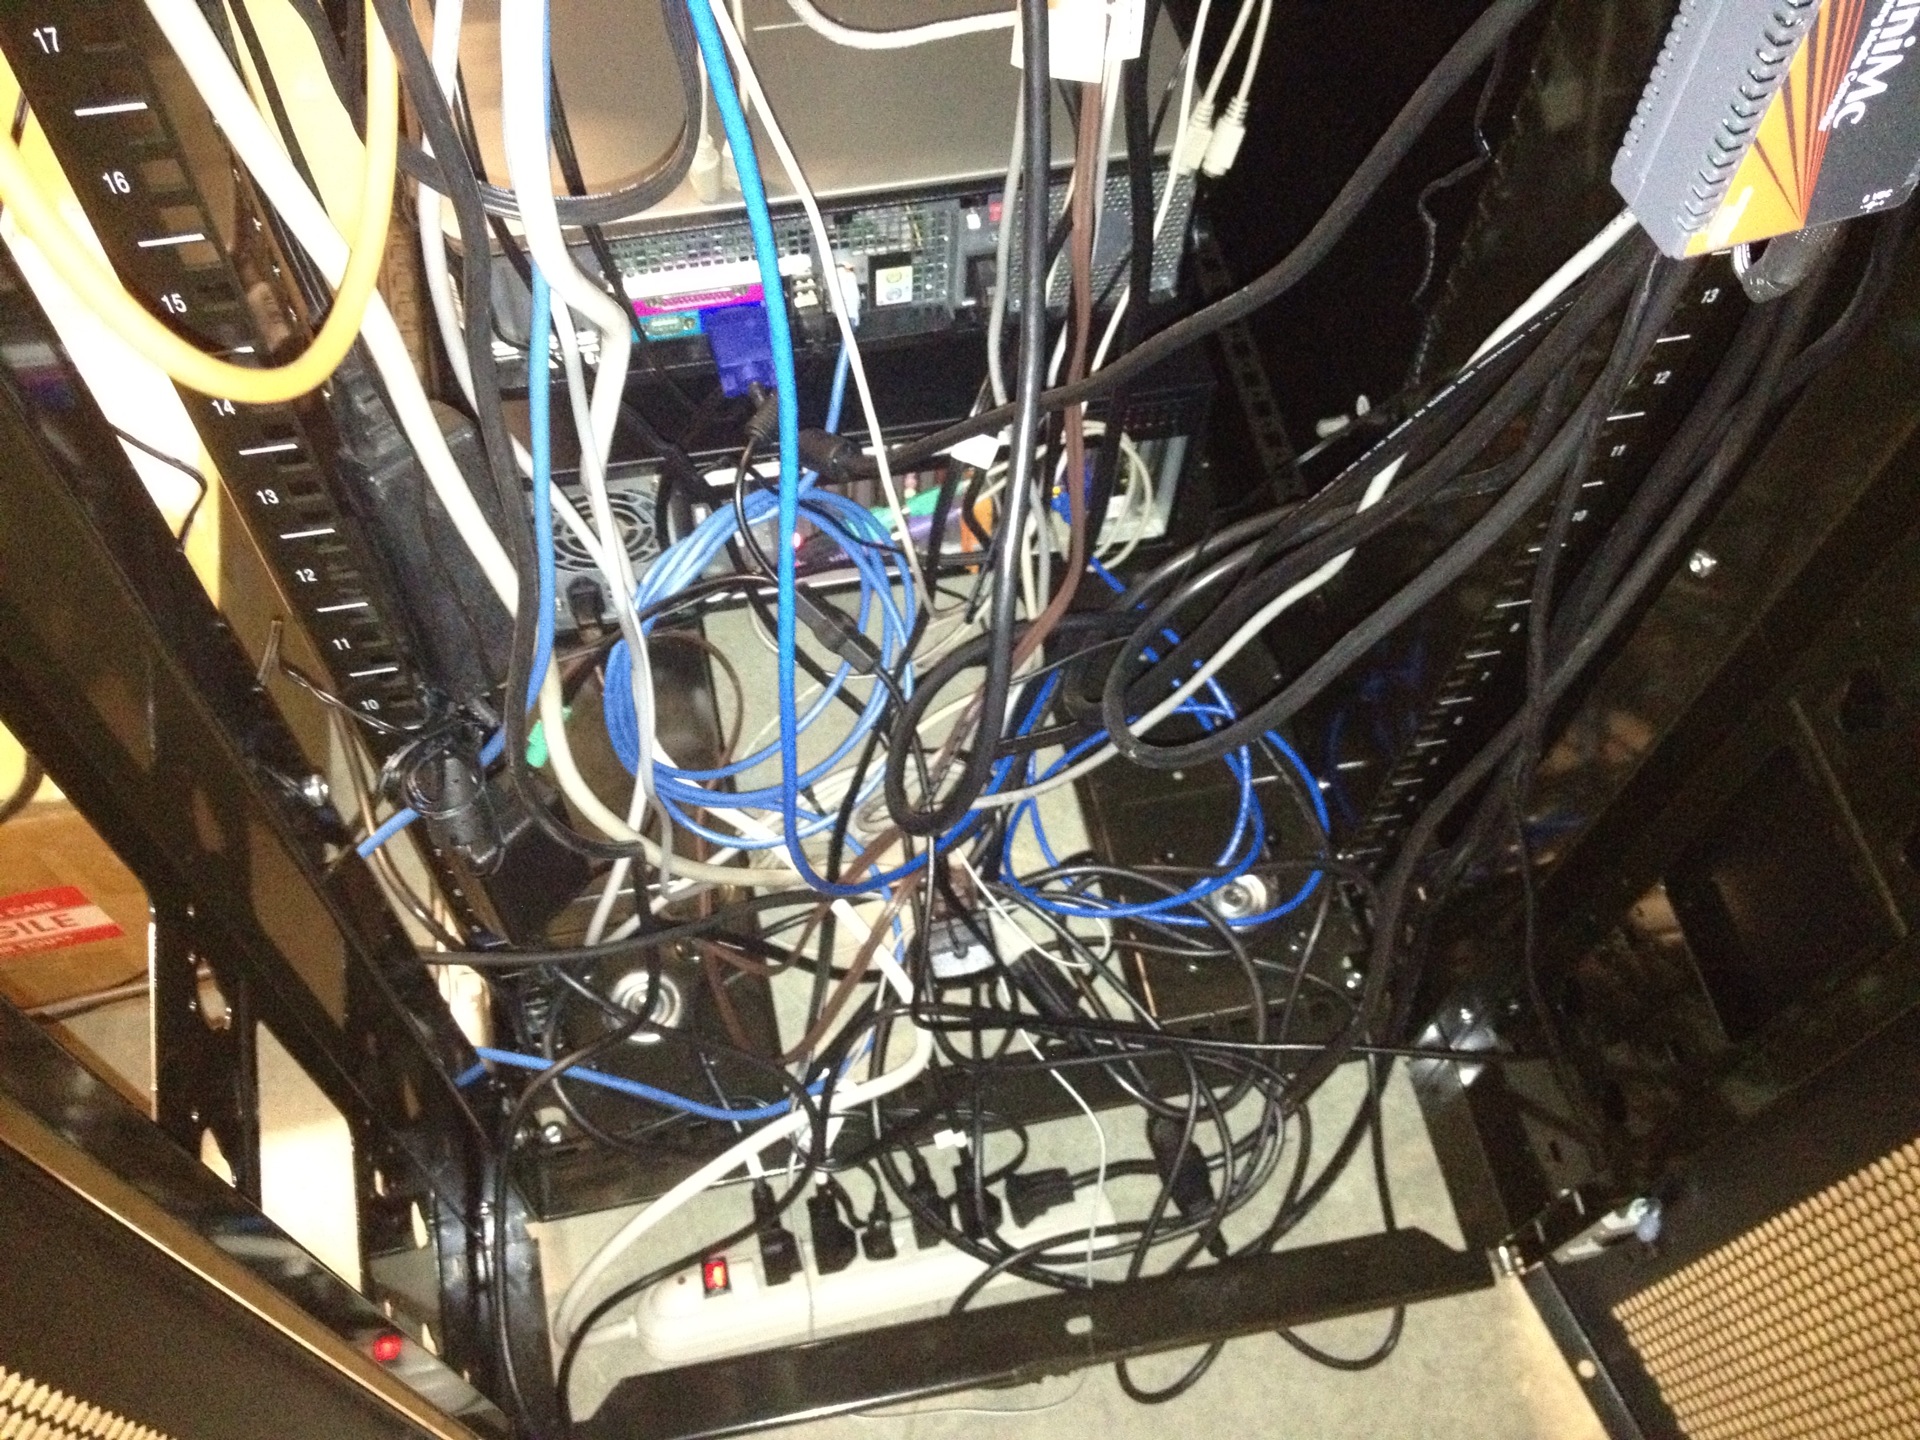
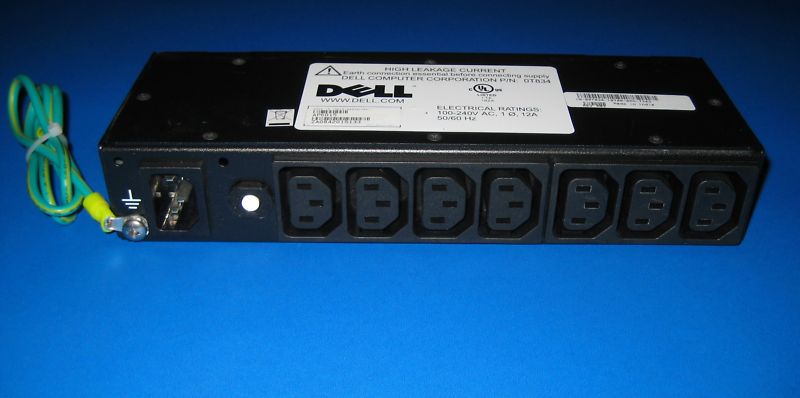
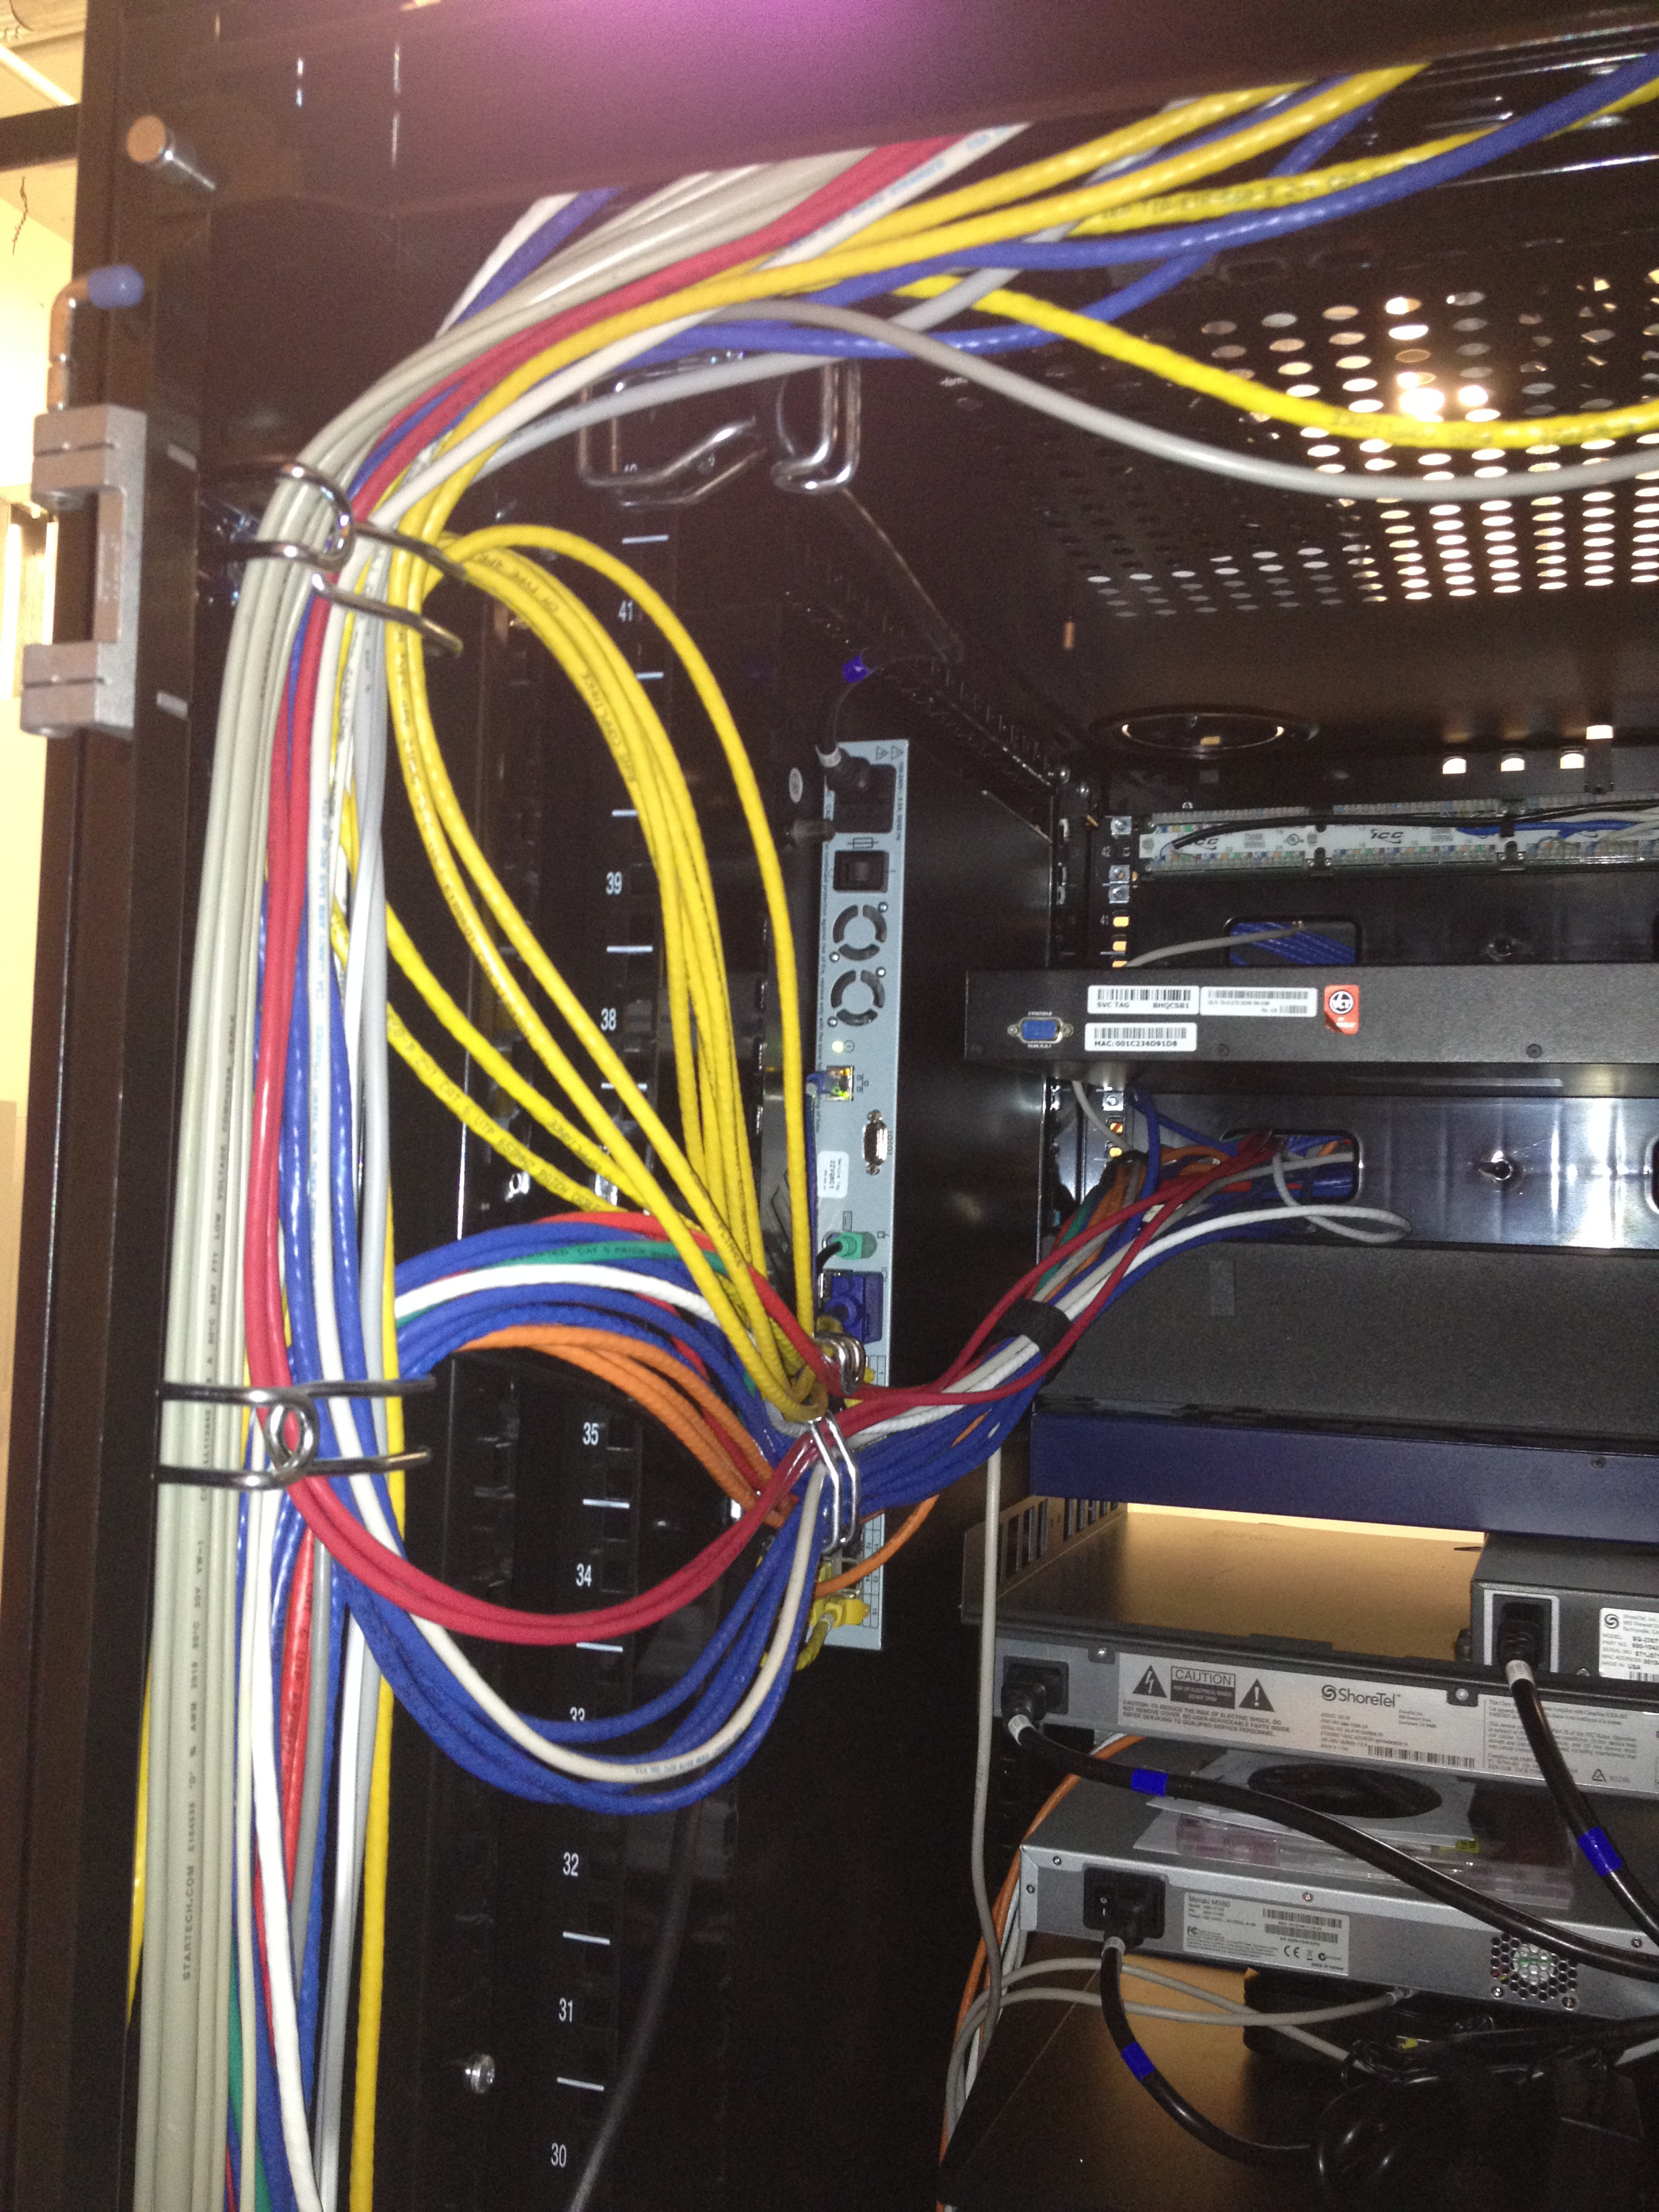
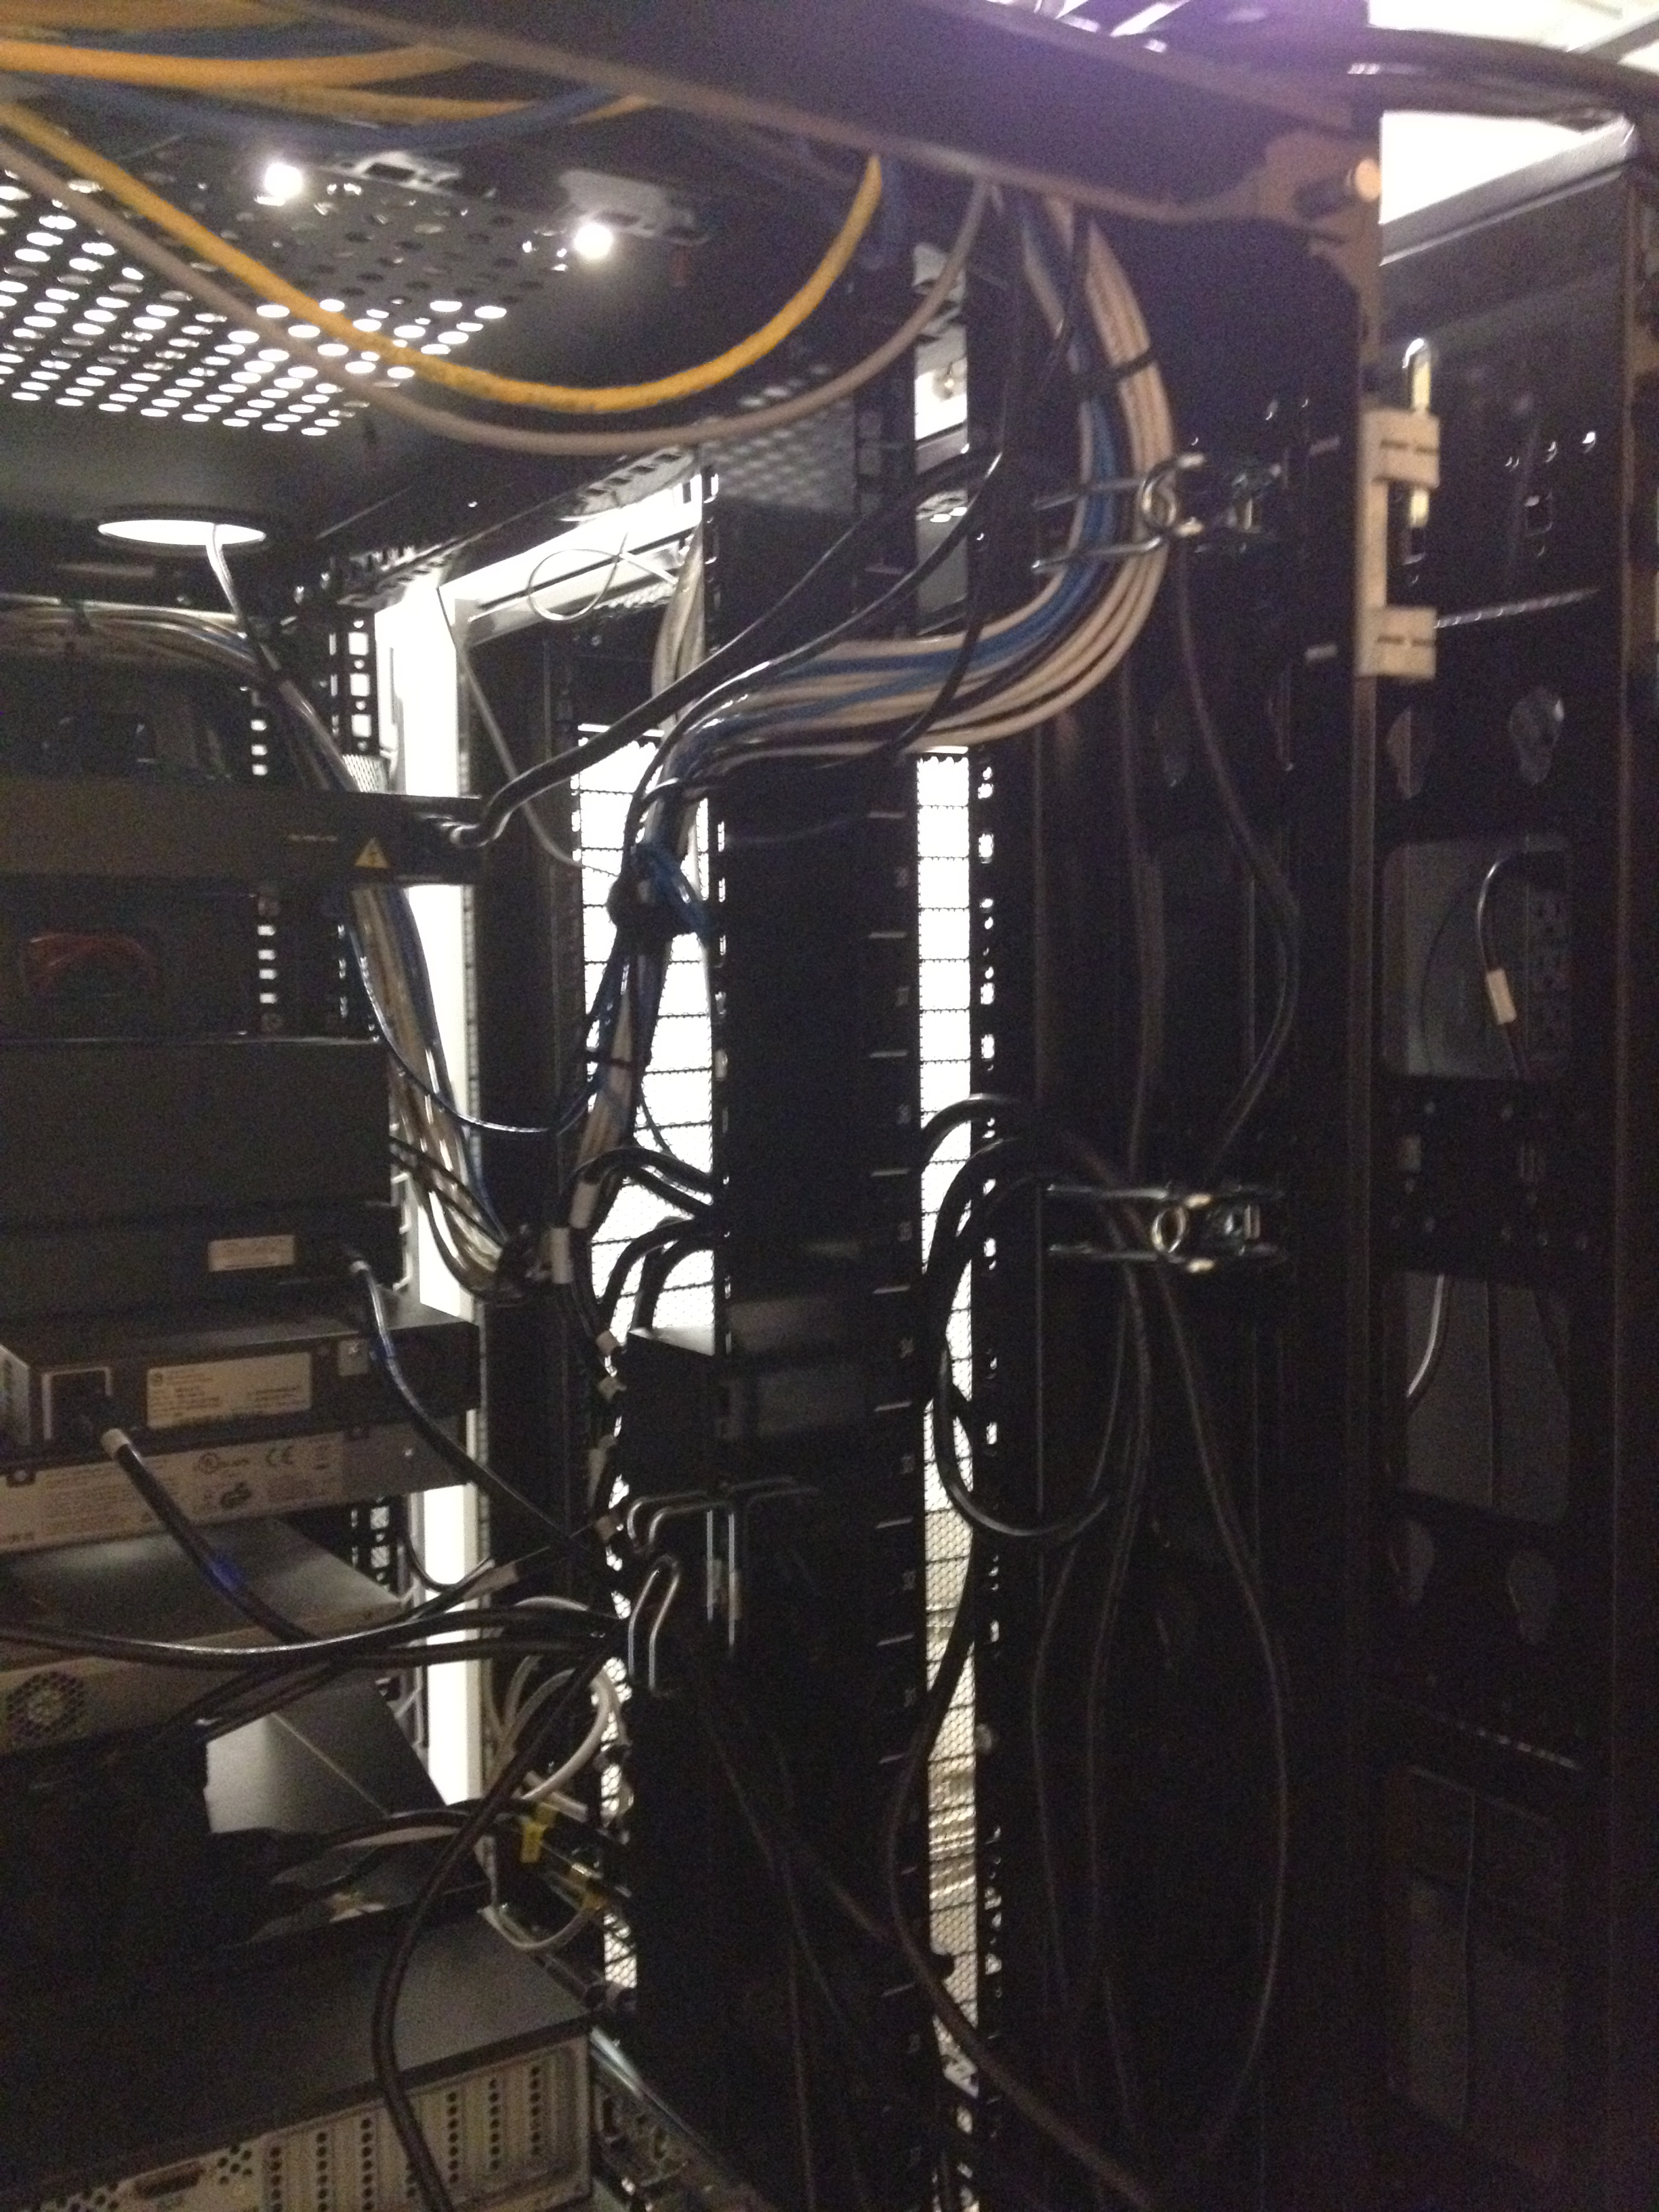
This is what the back of the rack looked like. This may have been a hazard. There was, at one point, a power strip plugged into another power strip. If you look closely you can see an extension cord that was used at one point. Everything was left to hang however it pleased in the back.
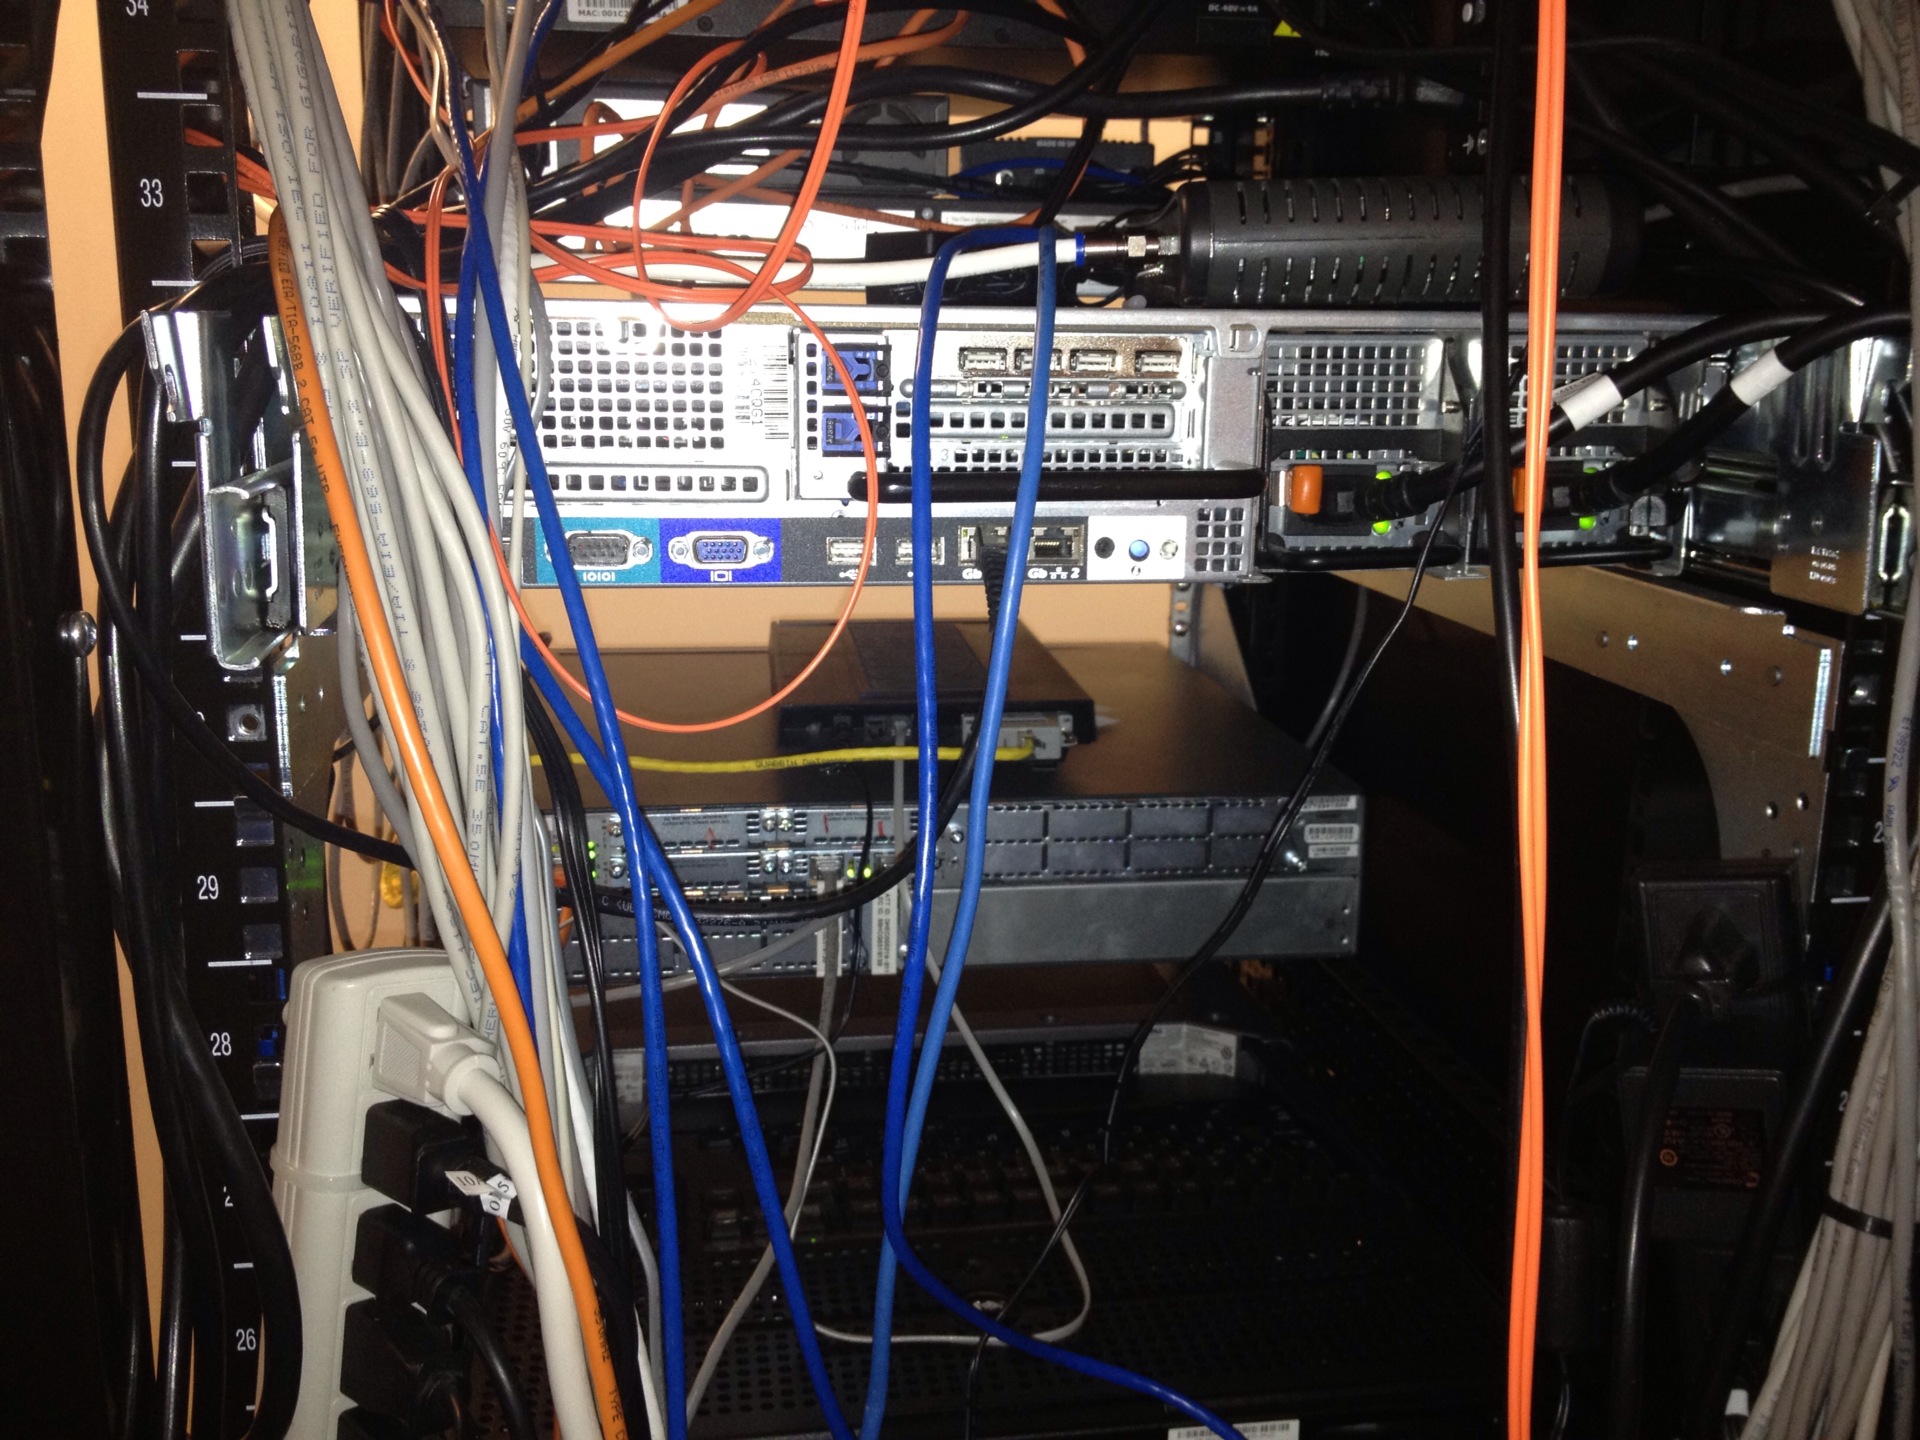
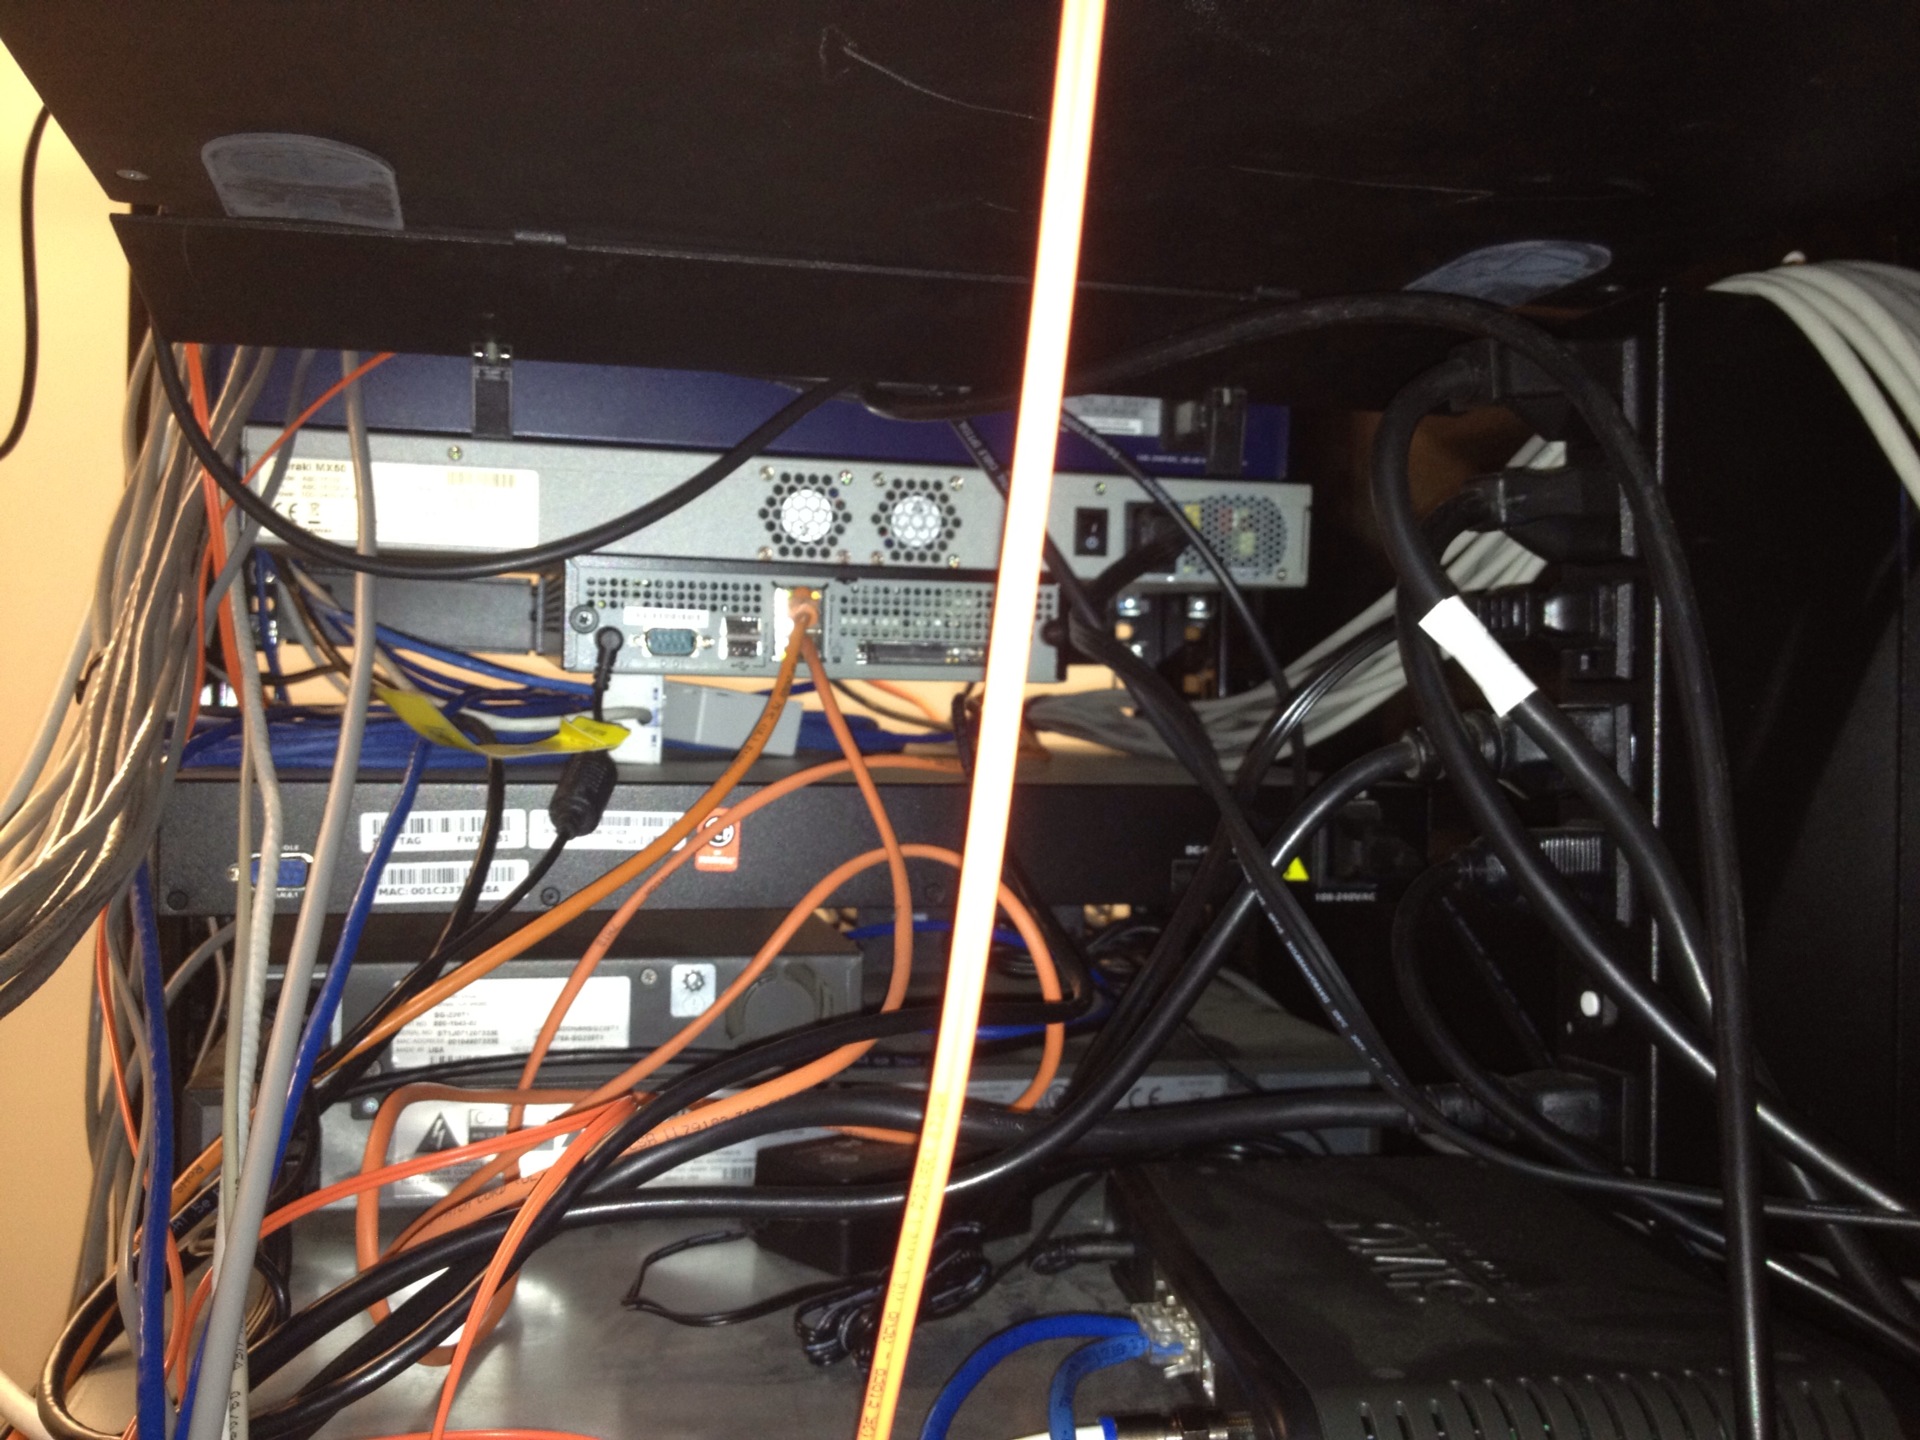
Again, this equipment spanned two 42U racks, which it really didn’t have to.
The Plan
Here are the specs we came up with for network cable coloring convention.
- Blue = Company Network
- Orange = High Cap (T1, PRI)
- Red = Fire Alarm System and Nurse Call System
- Yellow = Video for KVM
Here is a rough draft I made of what we had in mind for our rack. As you will see in some of the after pictures, some of this changed. This was created before we decided to replace and/or discontinue hardware.

As far as the hardware placement goes, we decided to go the flow of data as best we could.
Some Purchased Hardware for Project
- Rack Power Strip x2 and power cords variety of length 14 plus.
- Dell PowerEdge 2161DS-2 Console Switch (one of my favorite company purchases)
- All new network cable as specified above ranging from 1ft to 50ft
- Panduet for cable hiding x4
- A 2U rack drawer
- Shelves for computers unable to be rack mounted
- 2 USB port/VGA to ethernet connector for KVM switch for all computers in rack.

The Excuse
Although there is no excuse for the Before monstrosity, hardware was always installed with the mind set of looking forward to the After. Going from point A to point B our network infrastructure was being upgraded through out our campus and it was known our equipment was going to change throughout the year and a half. As we got closer to the After, our network backbone was now all fiber going towards this location and we were now able to add all equipment to this central location.
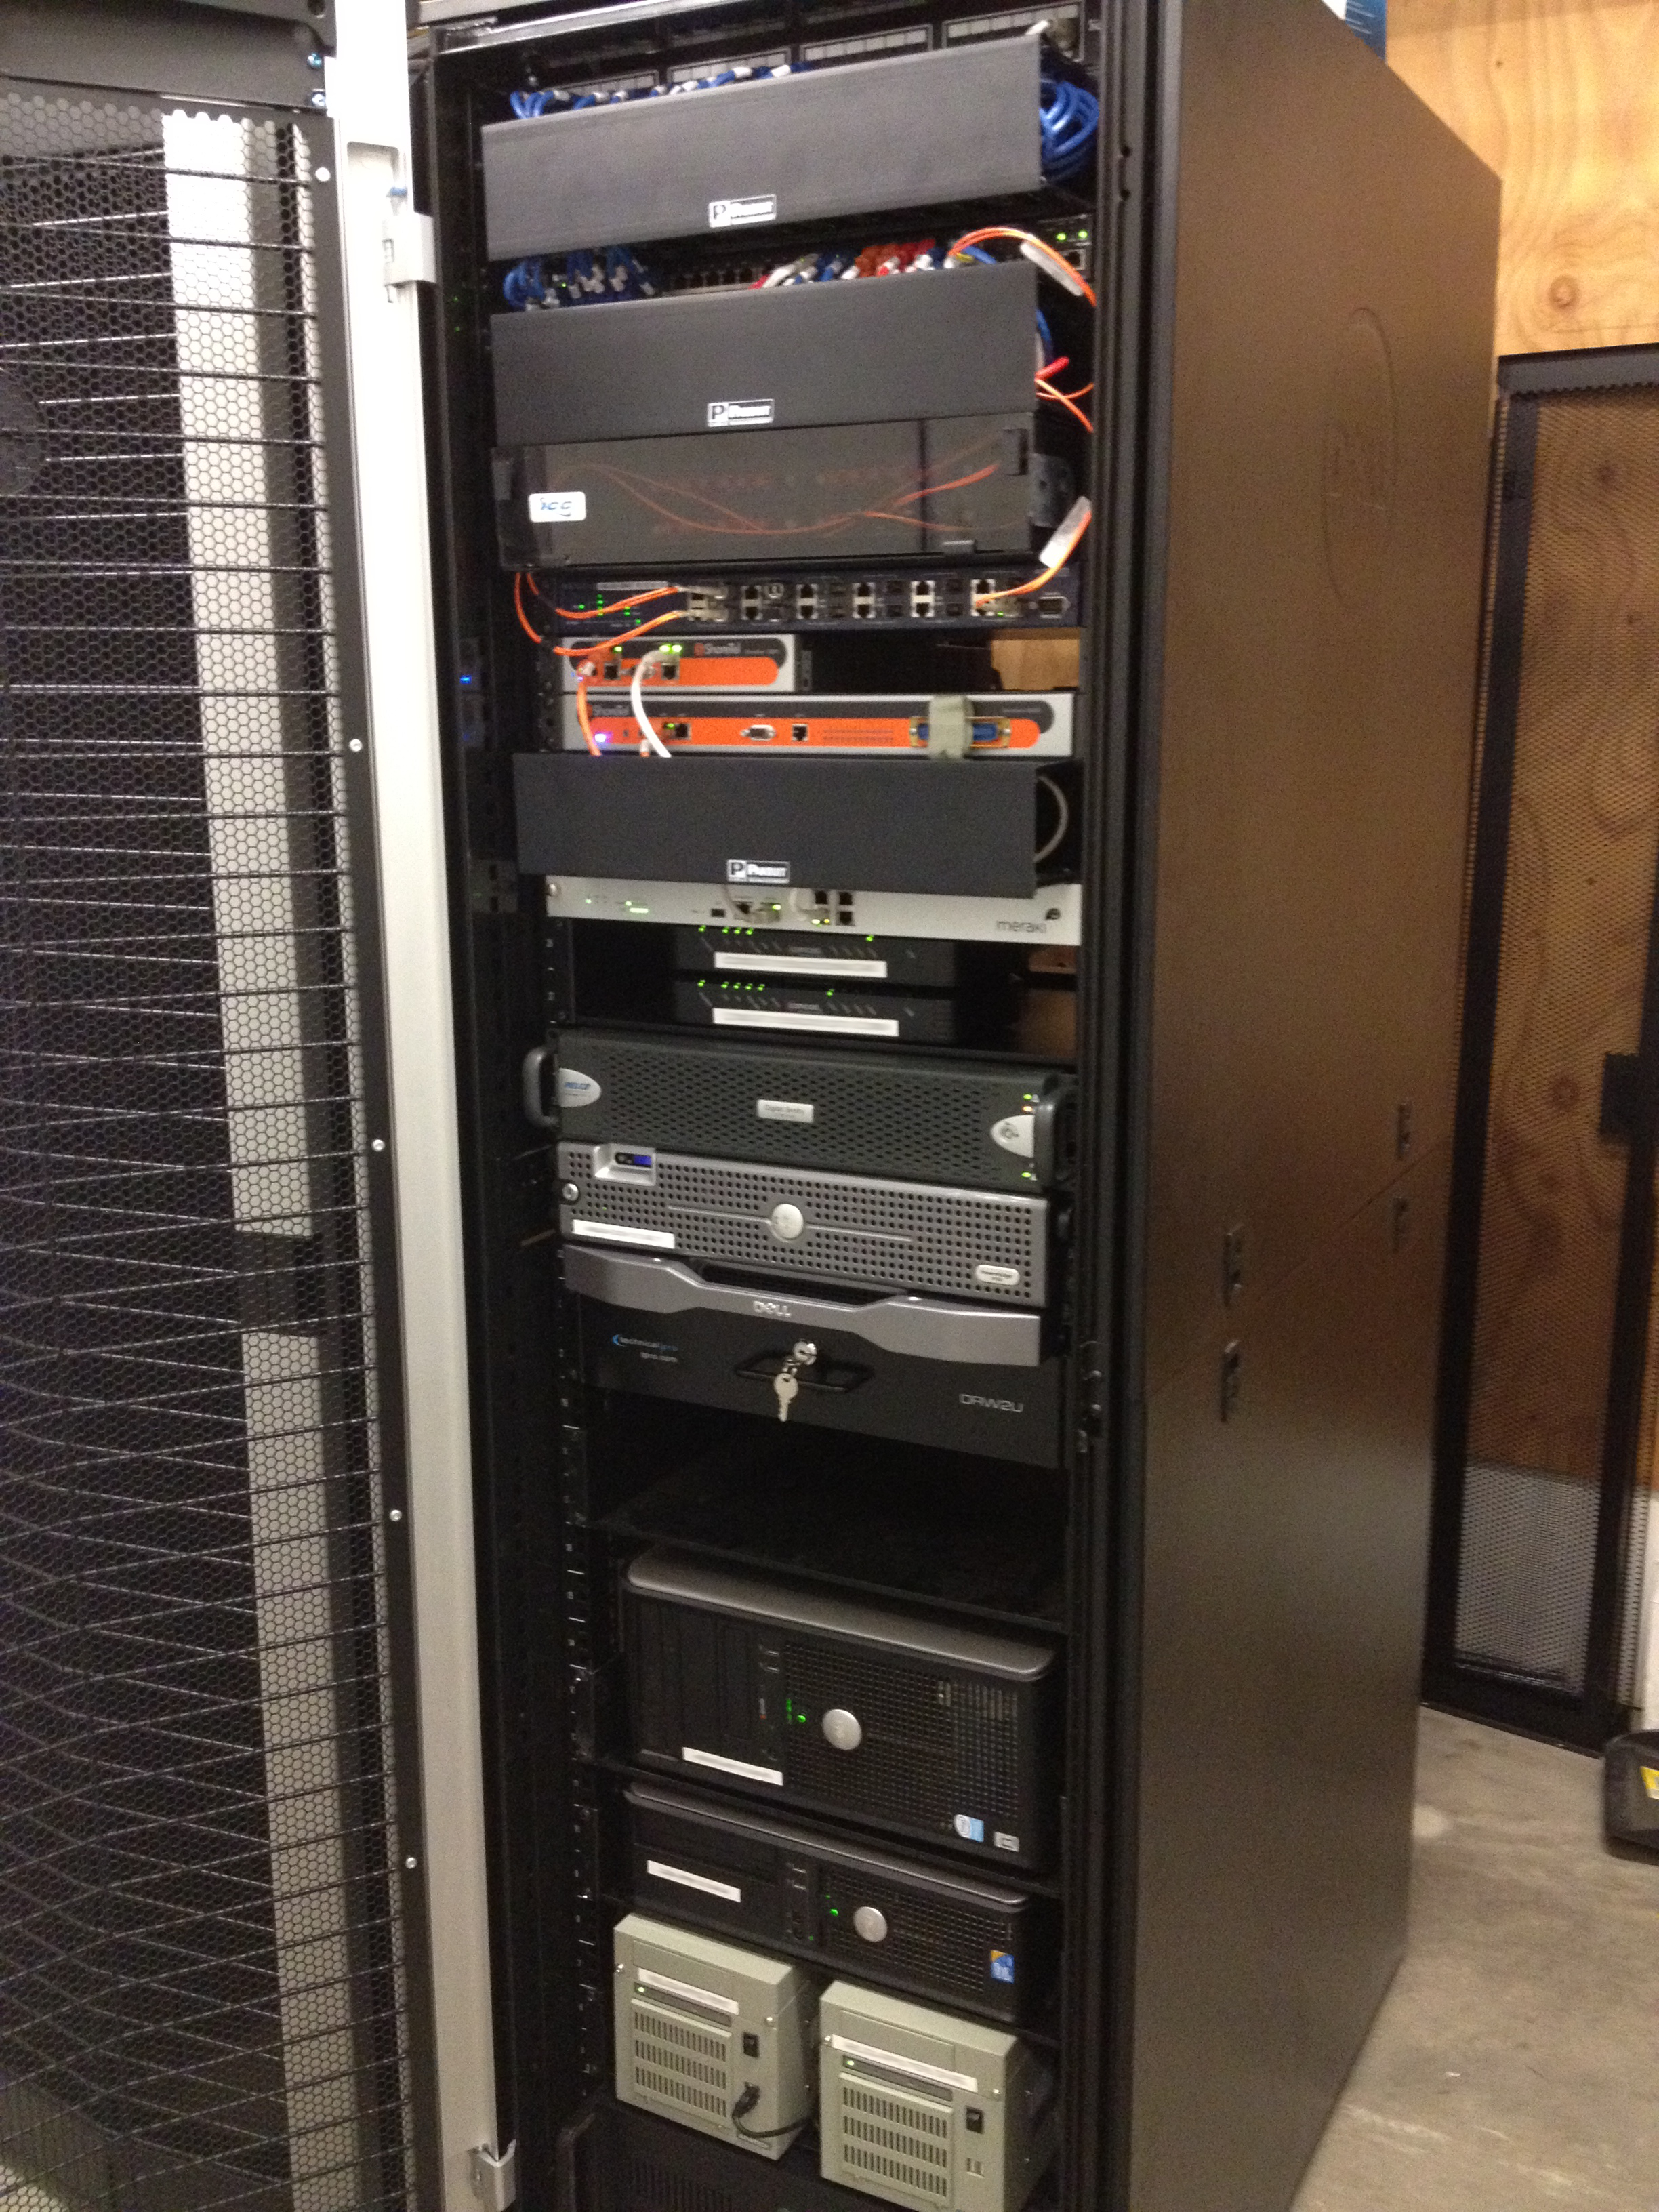
The After
There was a lot of adjusting that needed to be done to the rack frame in order to be able to get the door closed on the rack with all the hardware in place. All was fairly easy and we were able to get that done in a couple of hours. Because we are a 24 hour campus we decided to tackle this project and get this done all on a Saturday afternoon which would be the least invasive.
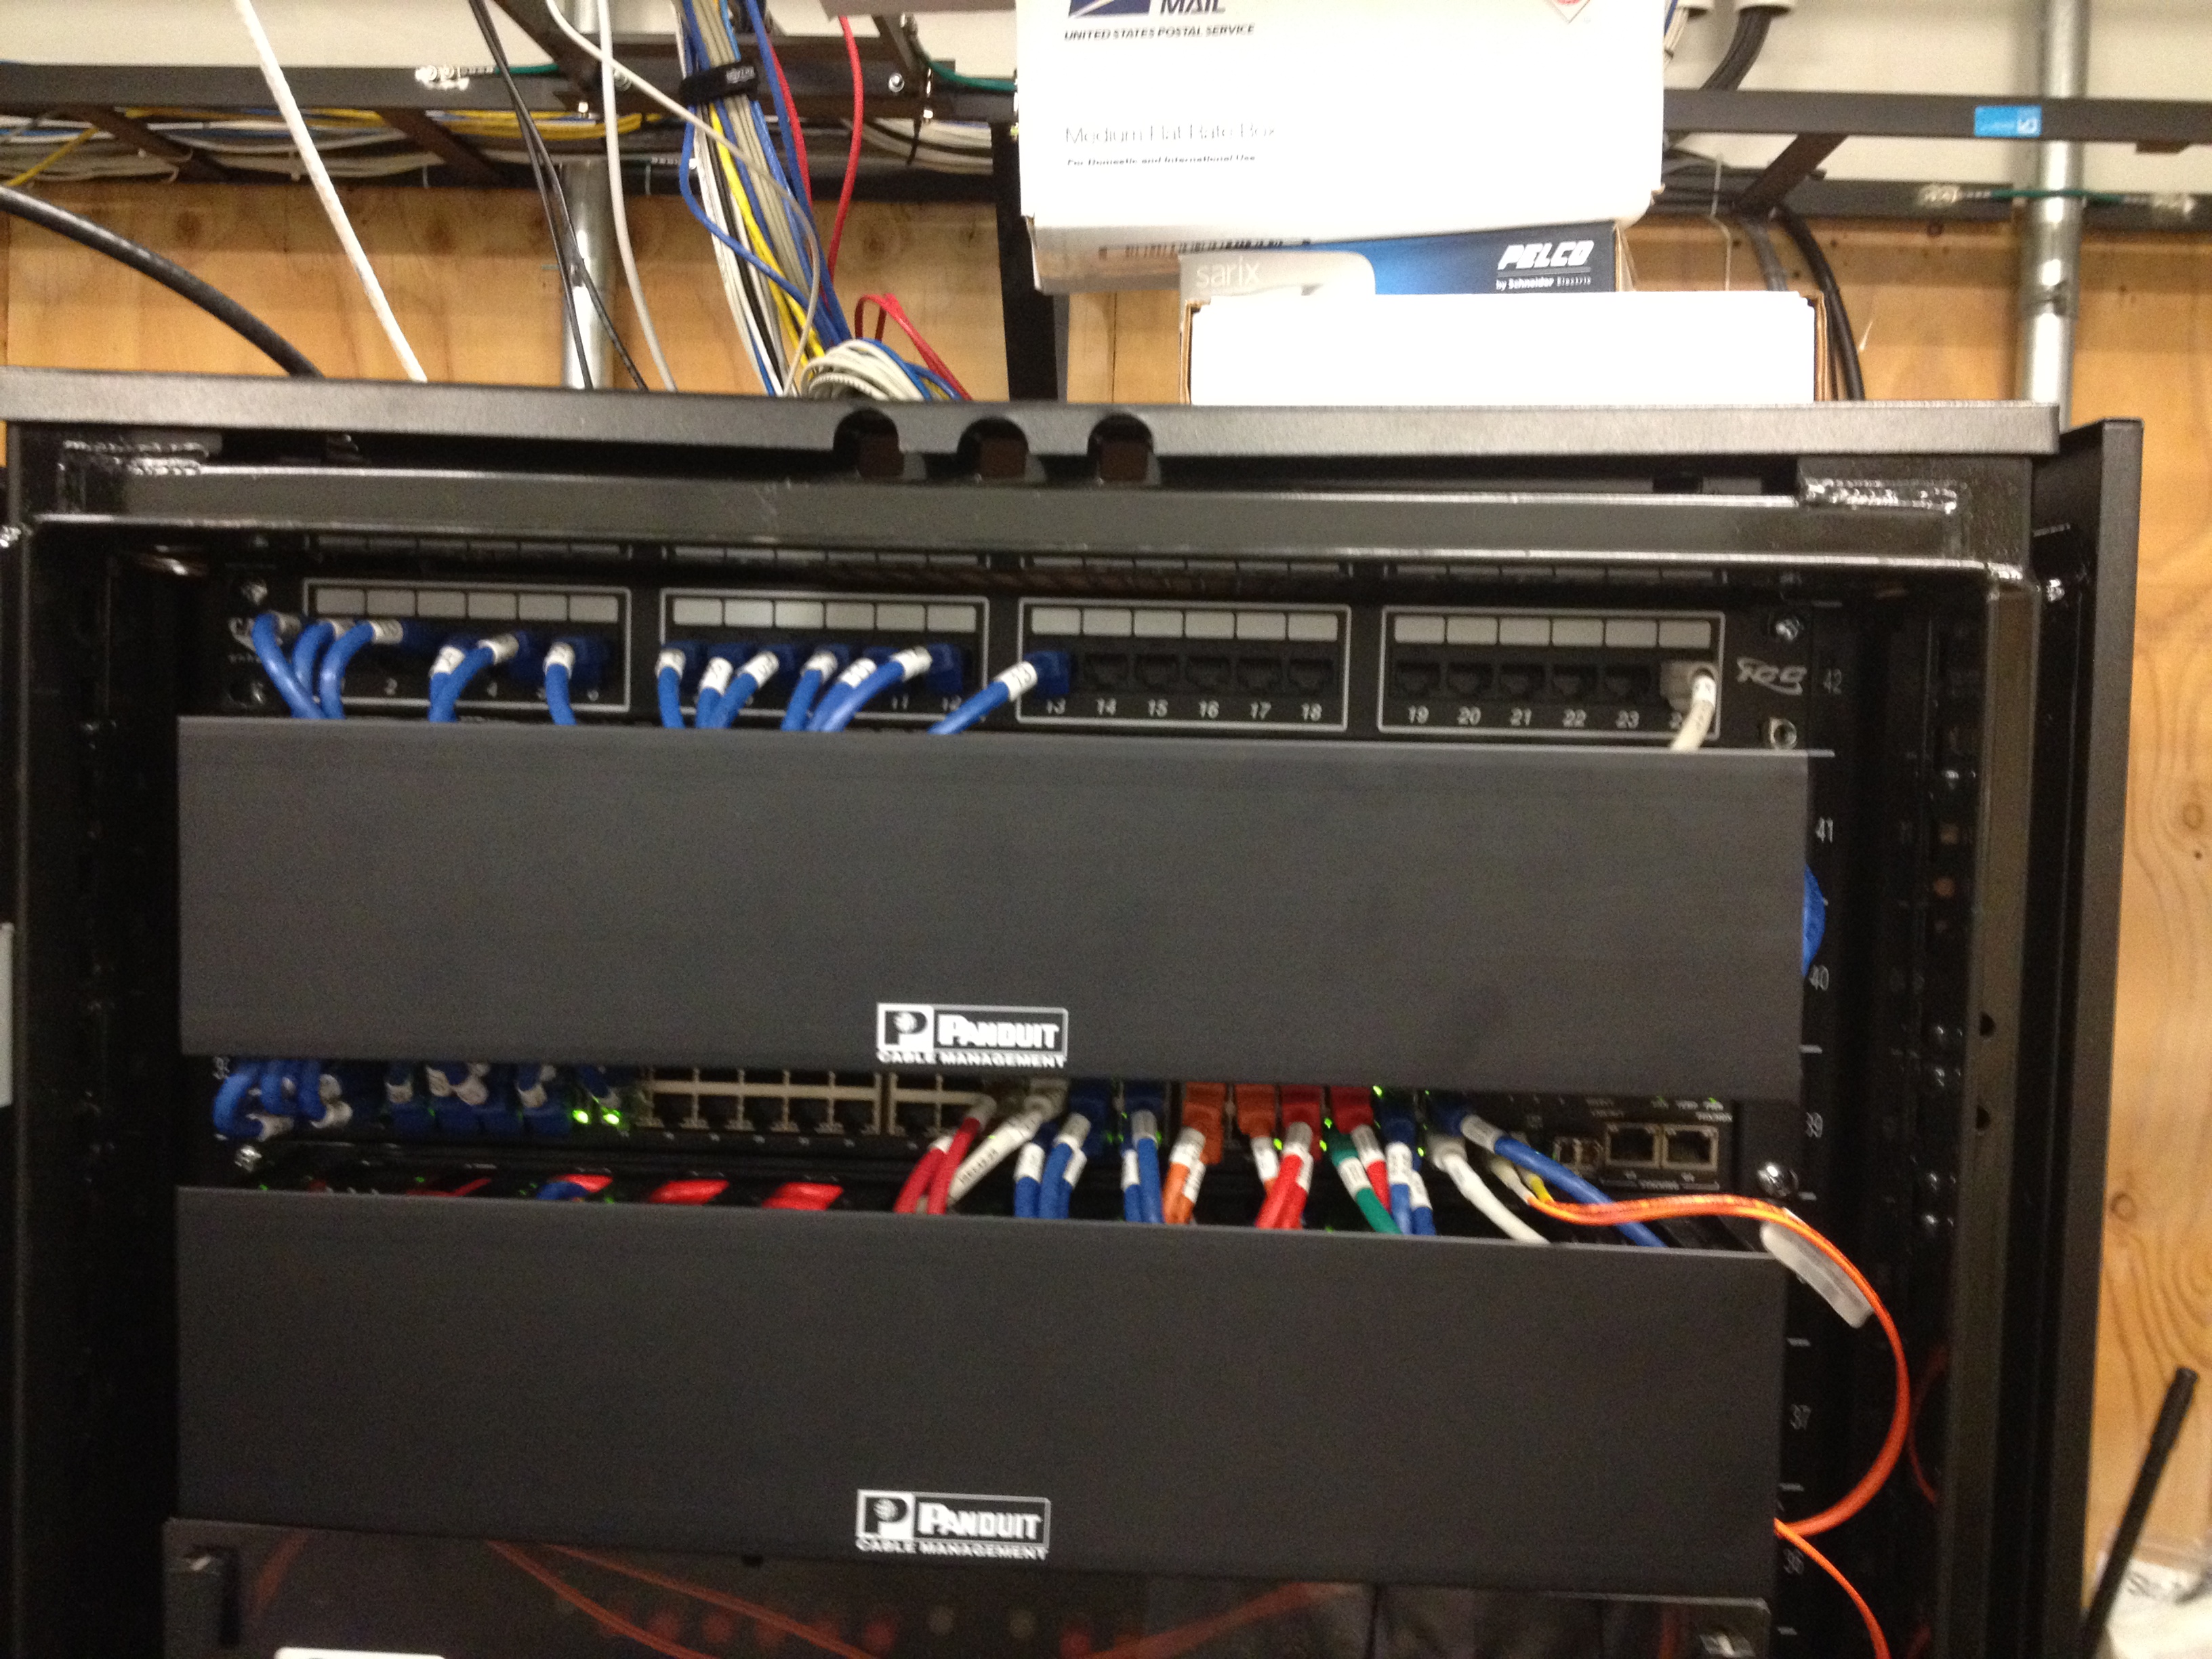
All cable was labeled properly with naming convention with a Dymo Rhino 5200.
This is pretty close to our draft with the concept of being organized the flow of traffic. While organizing this project we switched to a Comcast line and the modems serendipitously fit perfect in a 2U spot. We also purchased a drawer located right under the rack monitor.
The left back side of the rack was used for organizing network.
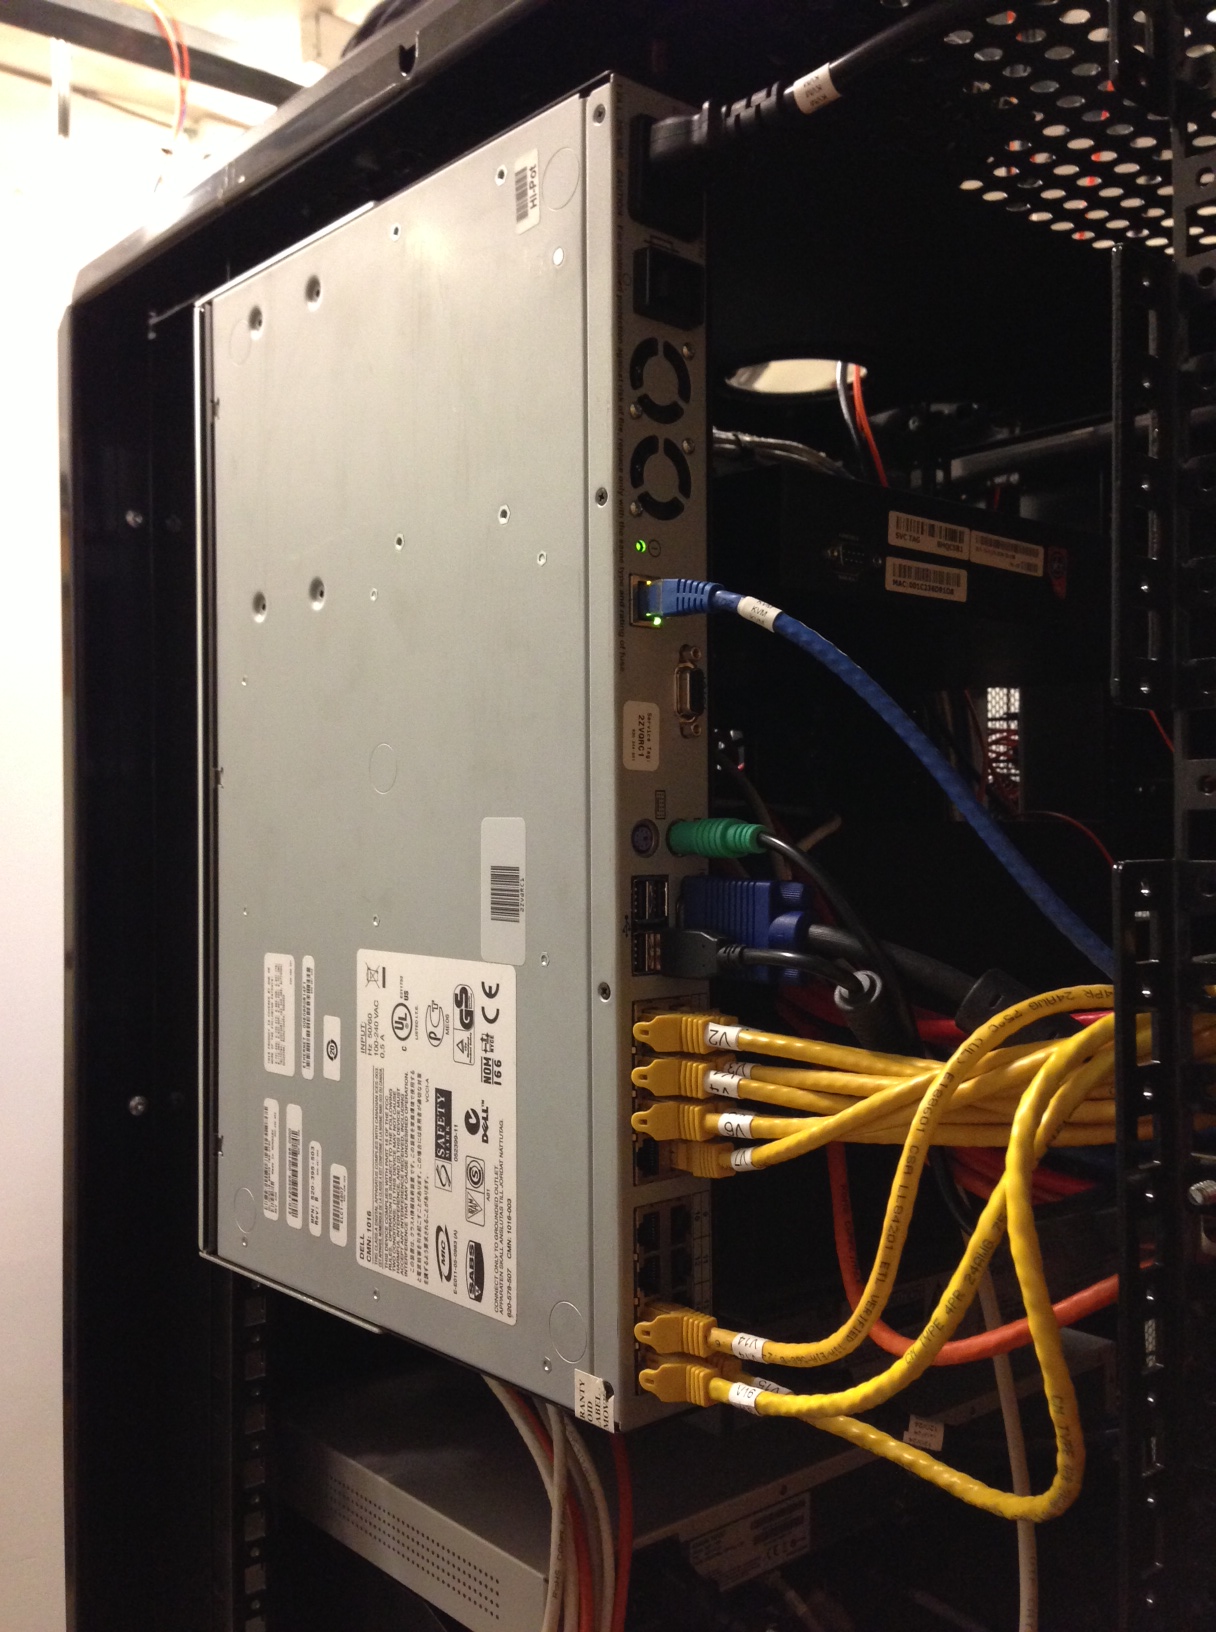
The KVM switch is running lateral to all hardware in the rack out of the way which it is meant to do, saves on rack space. Each yellow cable is connected to a 2 USB port/VGA to ethernet connector on one end and connected to all Computers. The other ends are labeled and connected to the switch. All computers are accessible from our one rack monitor.
Right side was used to organize, as best as possible, power cords. Rack power strips were located on the inside of rack. Each connected power cord was labeled for each piece of hardware.
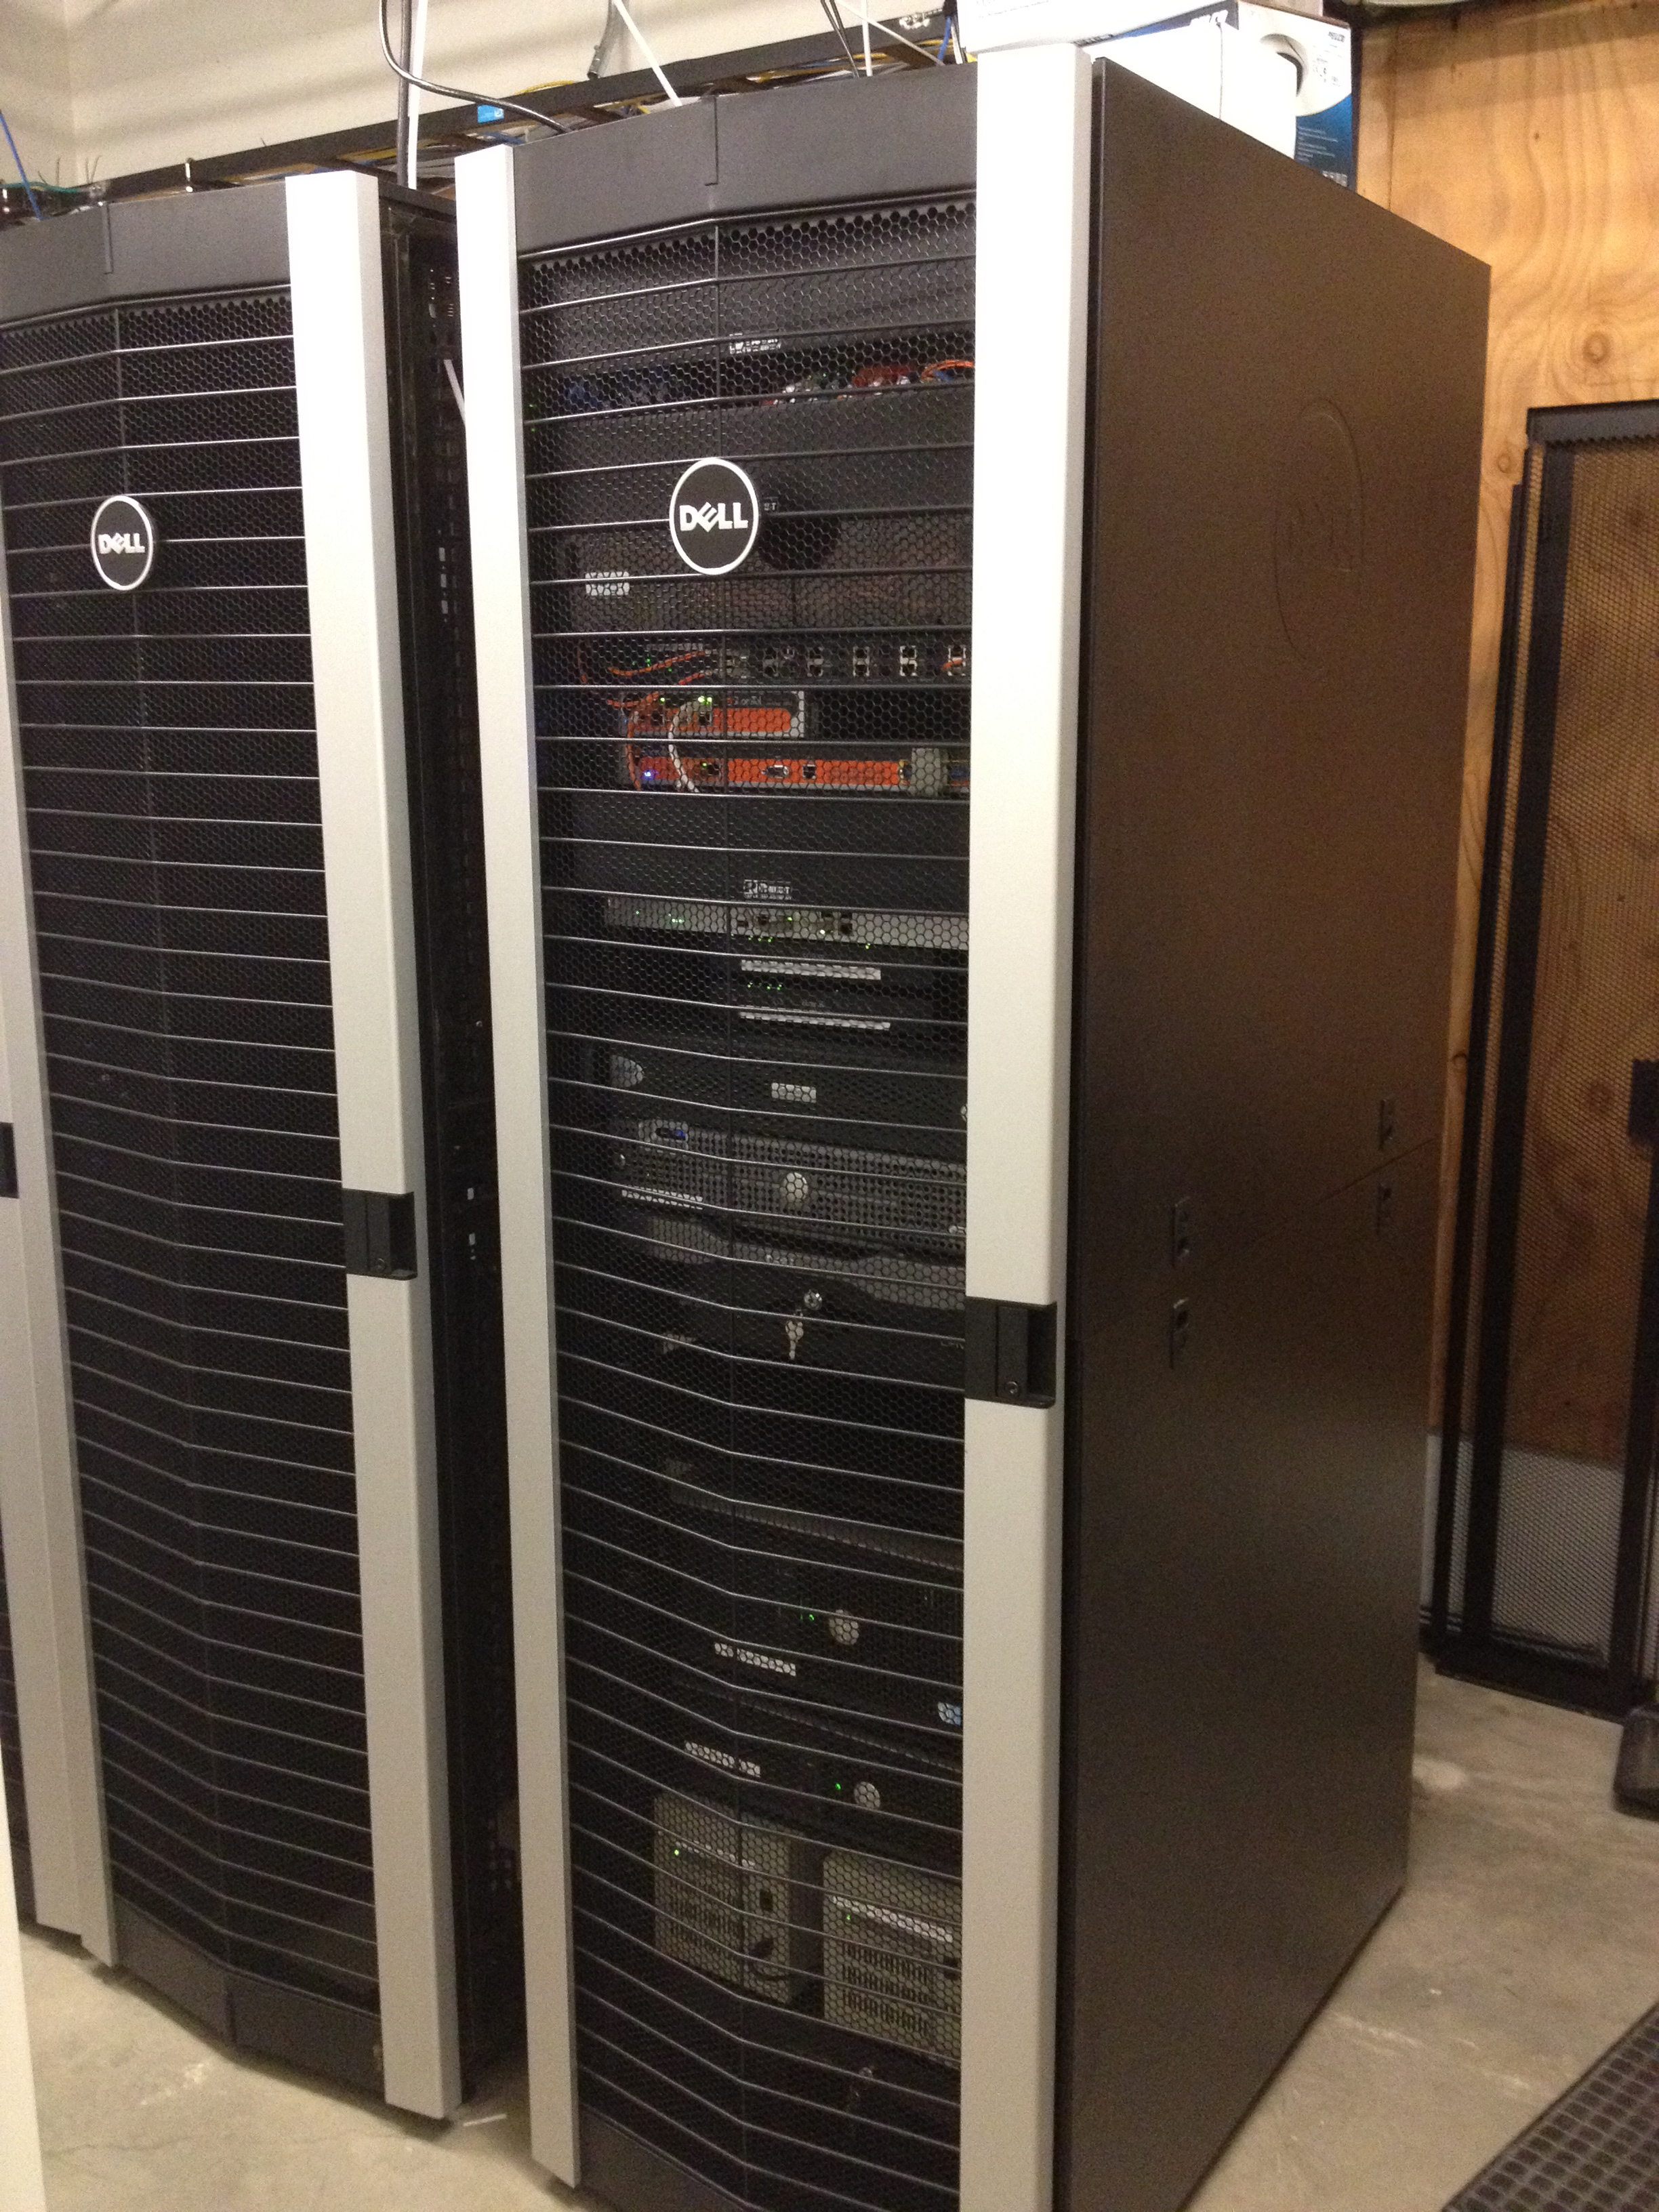
And this is our finished outcome. All in all, it took us about 3 hours to complete. This was our first rack organization project and it was an awesome experience and very gratifying.
Feel free to leave your comments and/or questions. If you have suggestions on how we could have done better please inform me, keeping in mind there are many way to skin a cat. If you want some more details for your own endevours please ask.
